I’ve always liked doing things with my hands. When I was little, my sister and I used to create epic art projects to do together, and my parents would often join us—we’d all sit around the dining room table, totally absorbed in the task at hand. We liked to fabricate tiny furniture and architectural-style models out of my dad’s dry-cleaner shirt cardboard. We made sets of ornaments for the Christmas tree. We painted Easter eggs. We drew homemade cards. What happy weirdos we were. We still do all of these things, though more rarely, and not as often together. I find this sort of craft-work very satisfying. It’s quiet and reflective, and productive.
Making gnocchi scratches that same itch for me. It’s a hands-on project that depends on your intuition, not your ability to follow directions. For me, a Sunday spent making gnocchi is the ultimate way to unwind.
Gnocchi are little Italian dumplings. Usually they are made with just mashed potato and flour, rolled into little bite-sized nuggets, and cooked in boiling water like fresh pasta. (Gnudi, possibly the best food name in existence, are a variation made from ricotta cheese and flour.) Plain potato gnocchi are delicious, though sometimes it’s fun to make them with another starchy vegetable, like butternut squash.
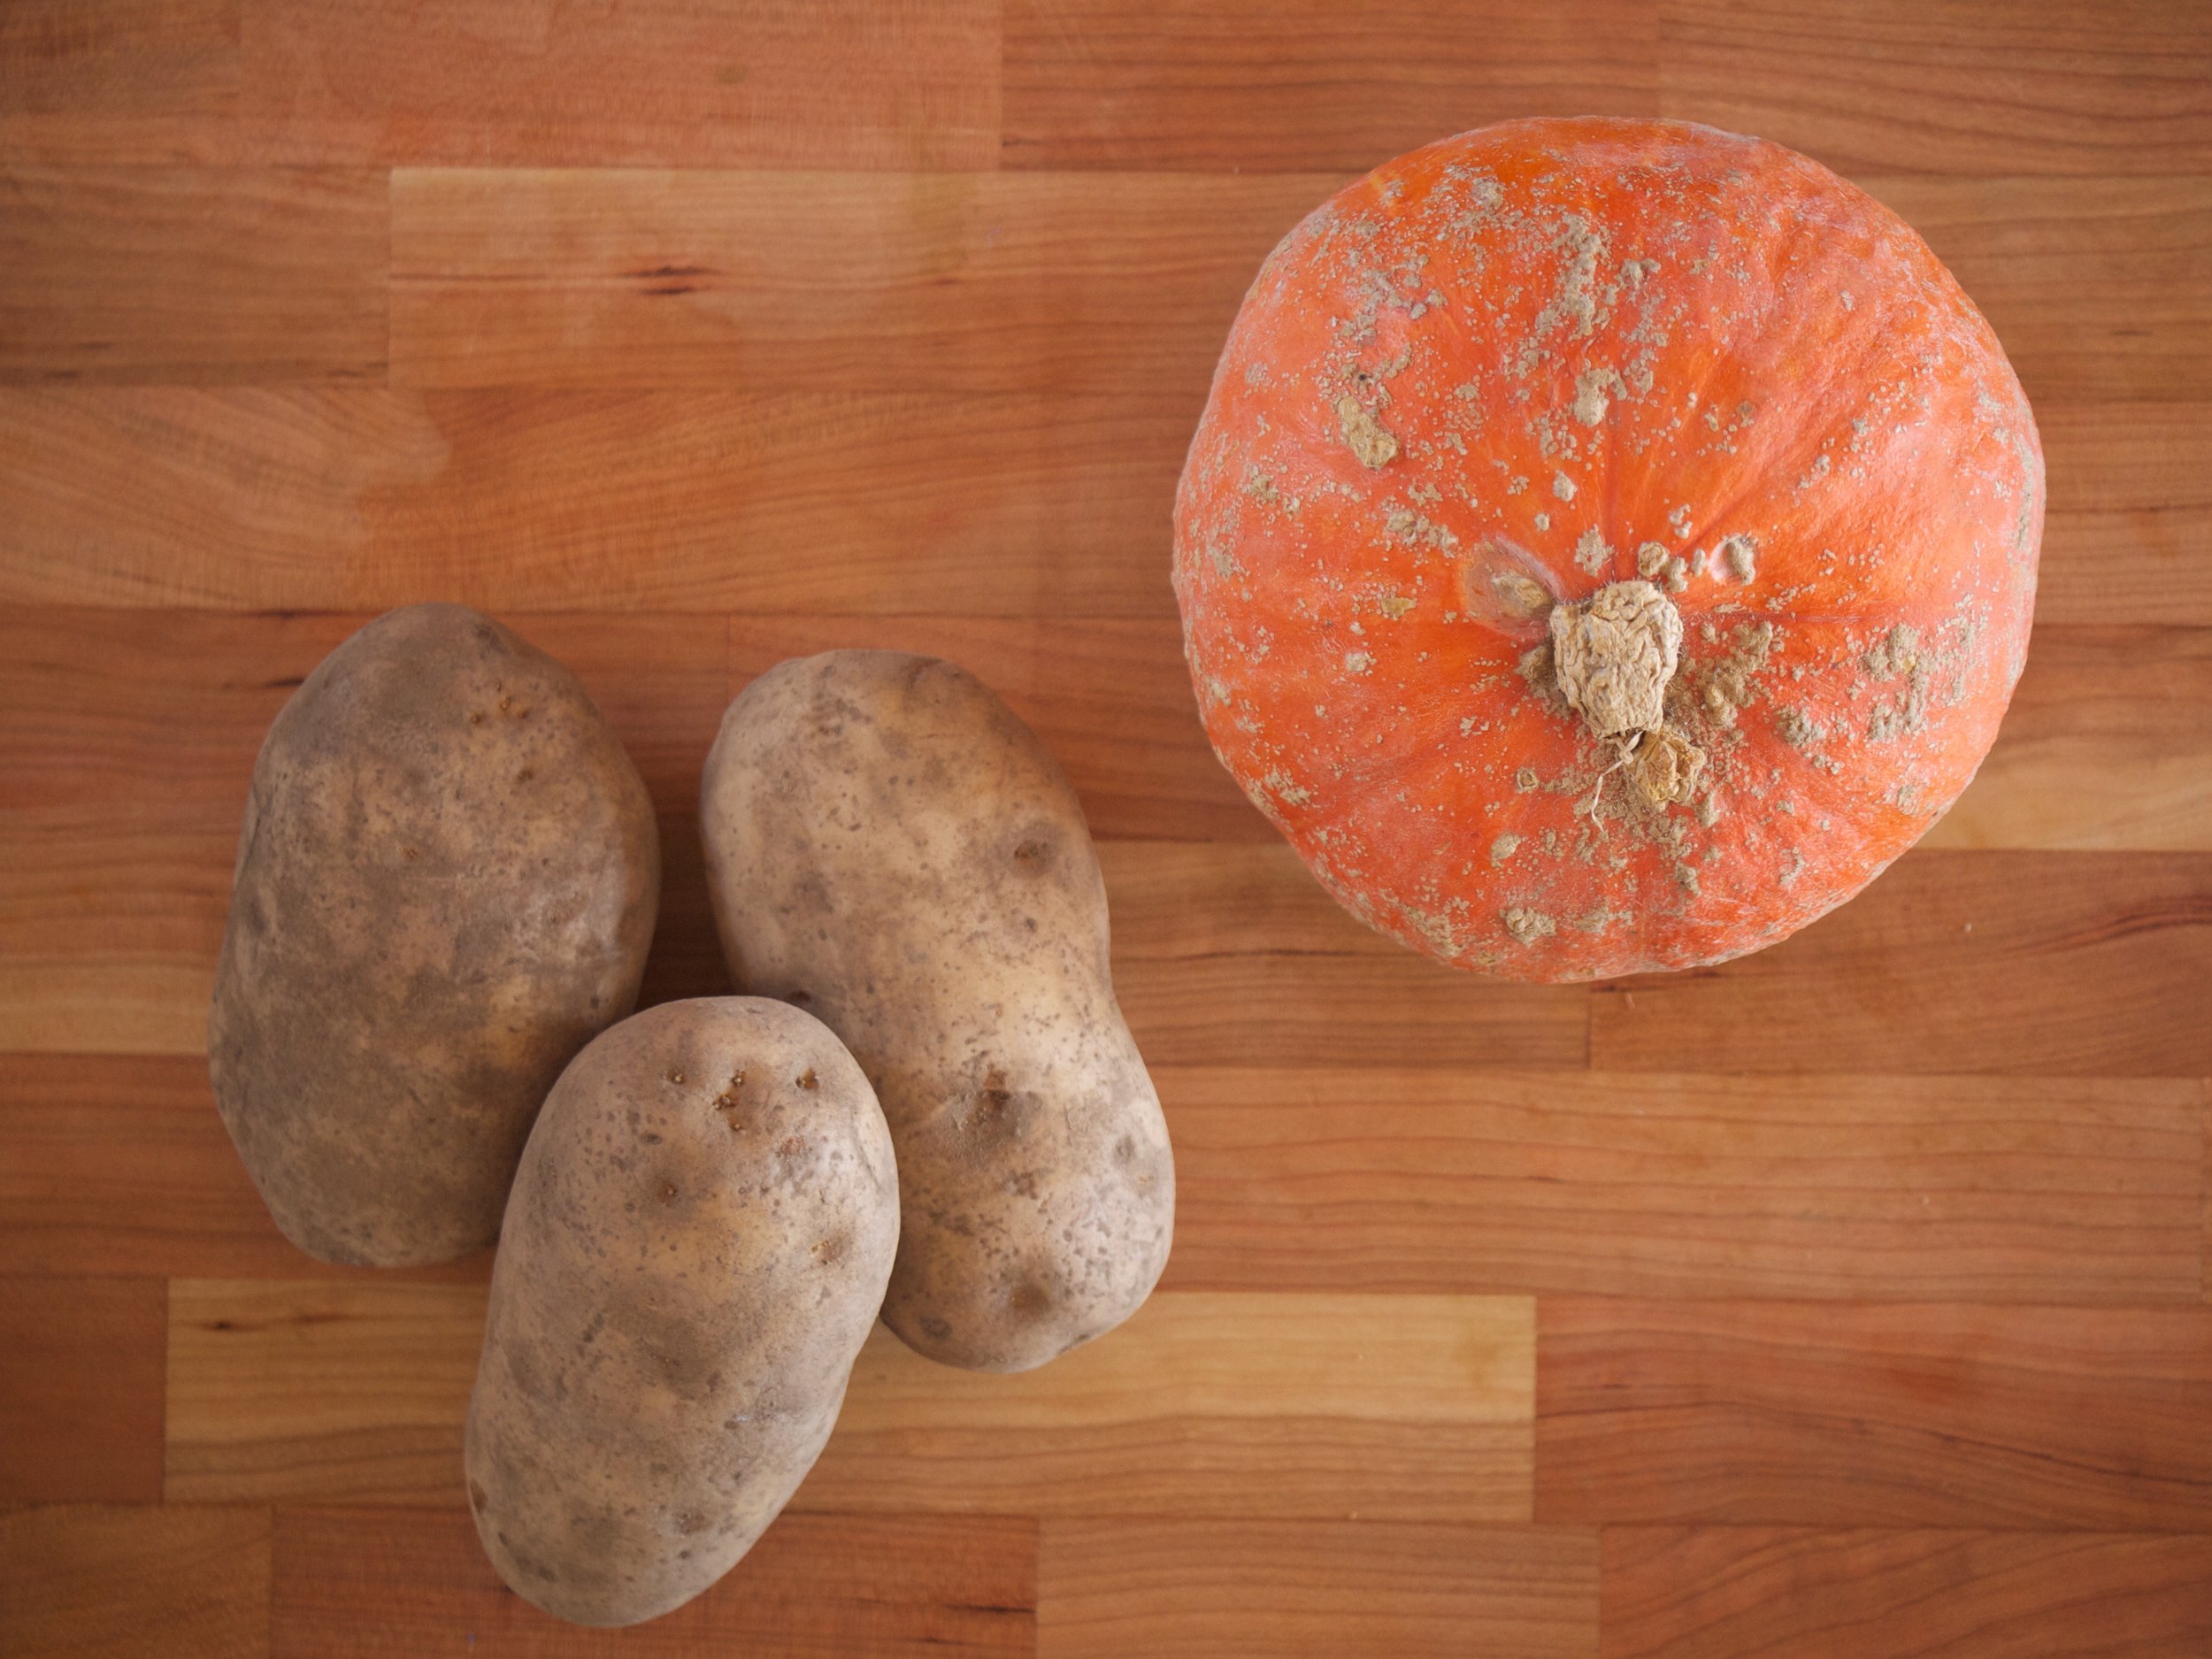
So when I was gifted a pumpkin, I thought I’d try making gnocchi out of it. (My friend Amy knew it was unlikely that there would be any pumpkin cookery in her life with a brand-new, adorable baby, so she kindly gave me the one from her CSA. Thanks Am!) Though I had never cooked anything with pumpkin, I had enough experience making gnocchi to know what adjustments I could make to hopefully achieve success. And "gnocchi success" is defined as a dough that will not disintegrate into boiling water, which is truly terrible.
One tip is to use at least equal parts potato to other starchy vegetable; if anything favor the potato.* Another tip is to always use russet potatoes—new potatoes don’t have enough starch to hold the gnocchi together. A third tip: bake/roast your vegetables whole or in big pieces to cook them through; do not boil or steam them, which will add too much moisture—you want a dry, starchy product to work with. Here I used half roasted pumpkin and half russets, and it worked well.
The process is pretty easy. Bake/roast the potatoes and pumpkin until soft. Put the warm pieces through a ricer,** then add an egg, salt, and enough flour to make a dough. Then roll out the dough into ropes, cut into nuggets, and roll each piece on a fork to make ridges. I made a video to show you how fun it is. Freeze the finished gnocchi on a parchment-covered sheet try or plate to firm them up. (I put the whole tray of them on my frosty January fire escape for a couple of hours because my freezer is a minefield.) They cook in boiling water, from frozen, in about 3 minutes.***
You can serve them all sorts of ways. Pesto is traditional, but your type of pesto can be untraditional. A little cream and gorgonzola melted together is great. Even a meat or tomato sauce will work—they’re hearty little guys and can handle it. But most often I keep it simple: brown butter, sage, parmesan.
Having made these recently with my dad and stepmom, and many times with my husband, I can vouch for the fact that gnocchi-making is a very family-friendly craft project, which happens to result in a tasty meal. Great for relatives in need of an activity over a holiday, Play-Doh-liking kids, and Sundays. Also ideal for dark winter afternoons where you just want stay in and do something with your hands while you listen to old Bob Marley records.
Pumpkin Gnocchi with Brown Butter and Sage
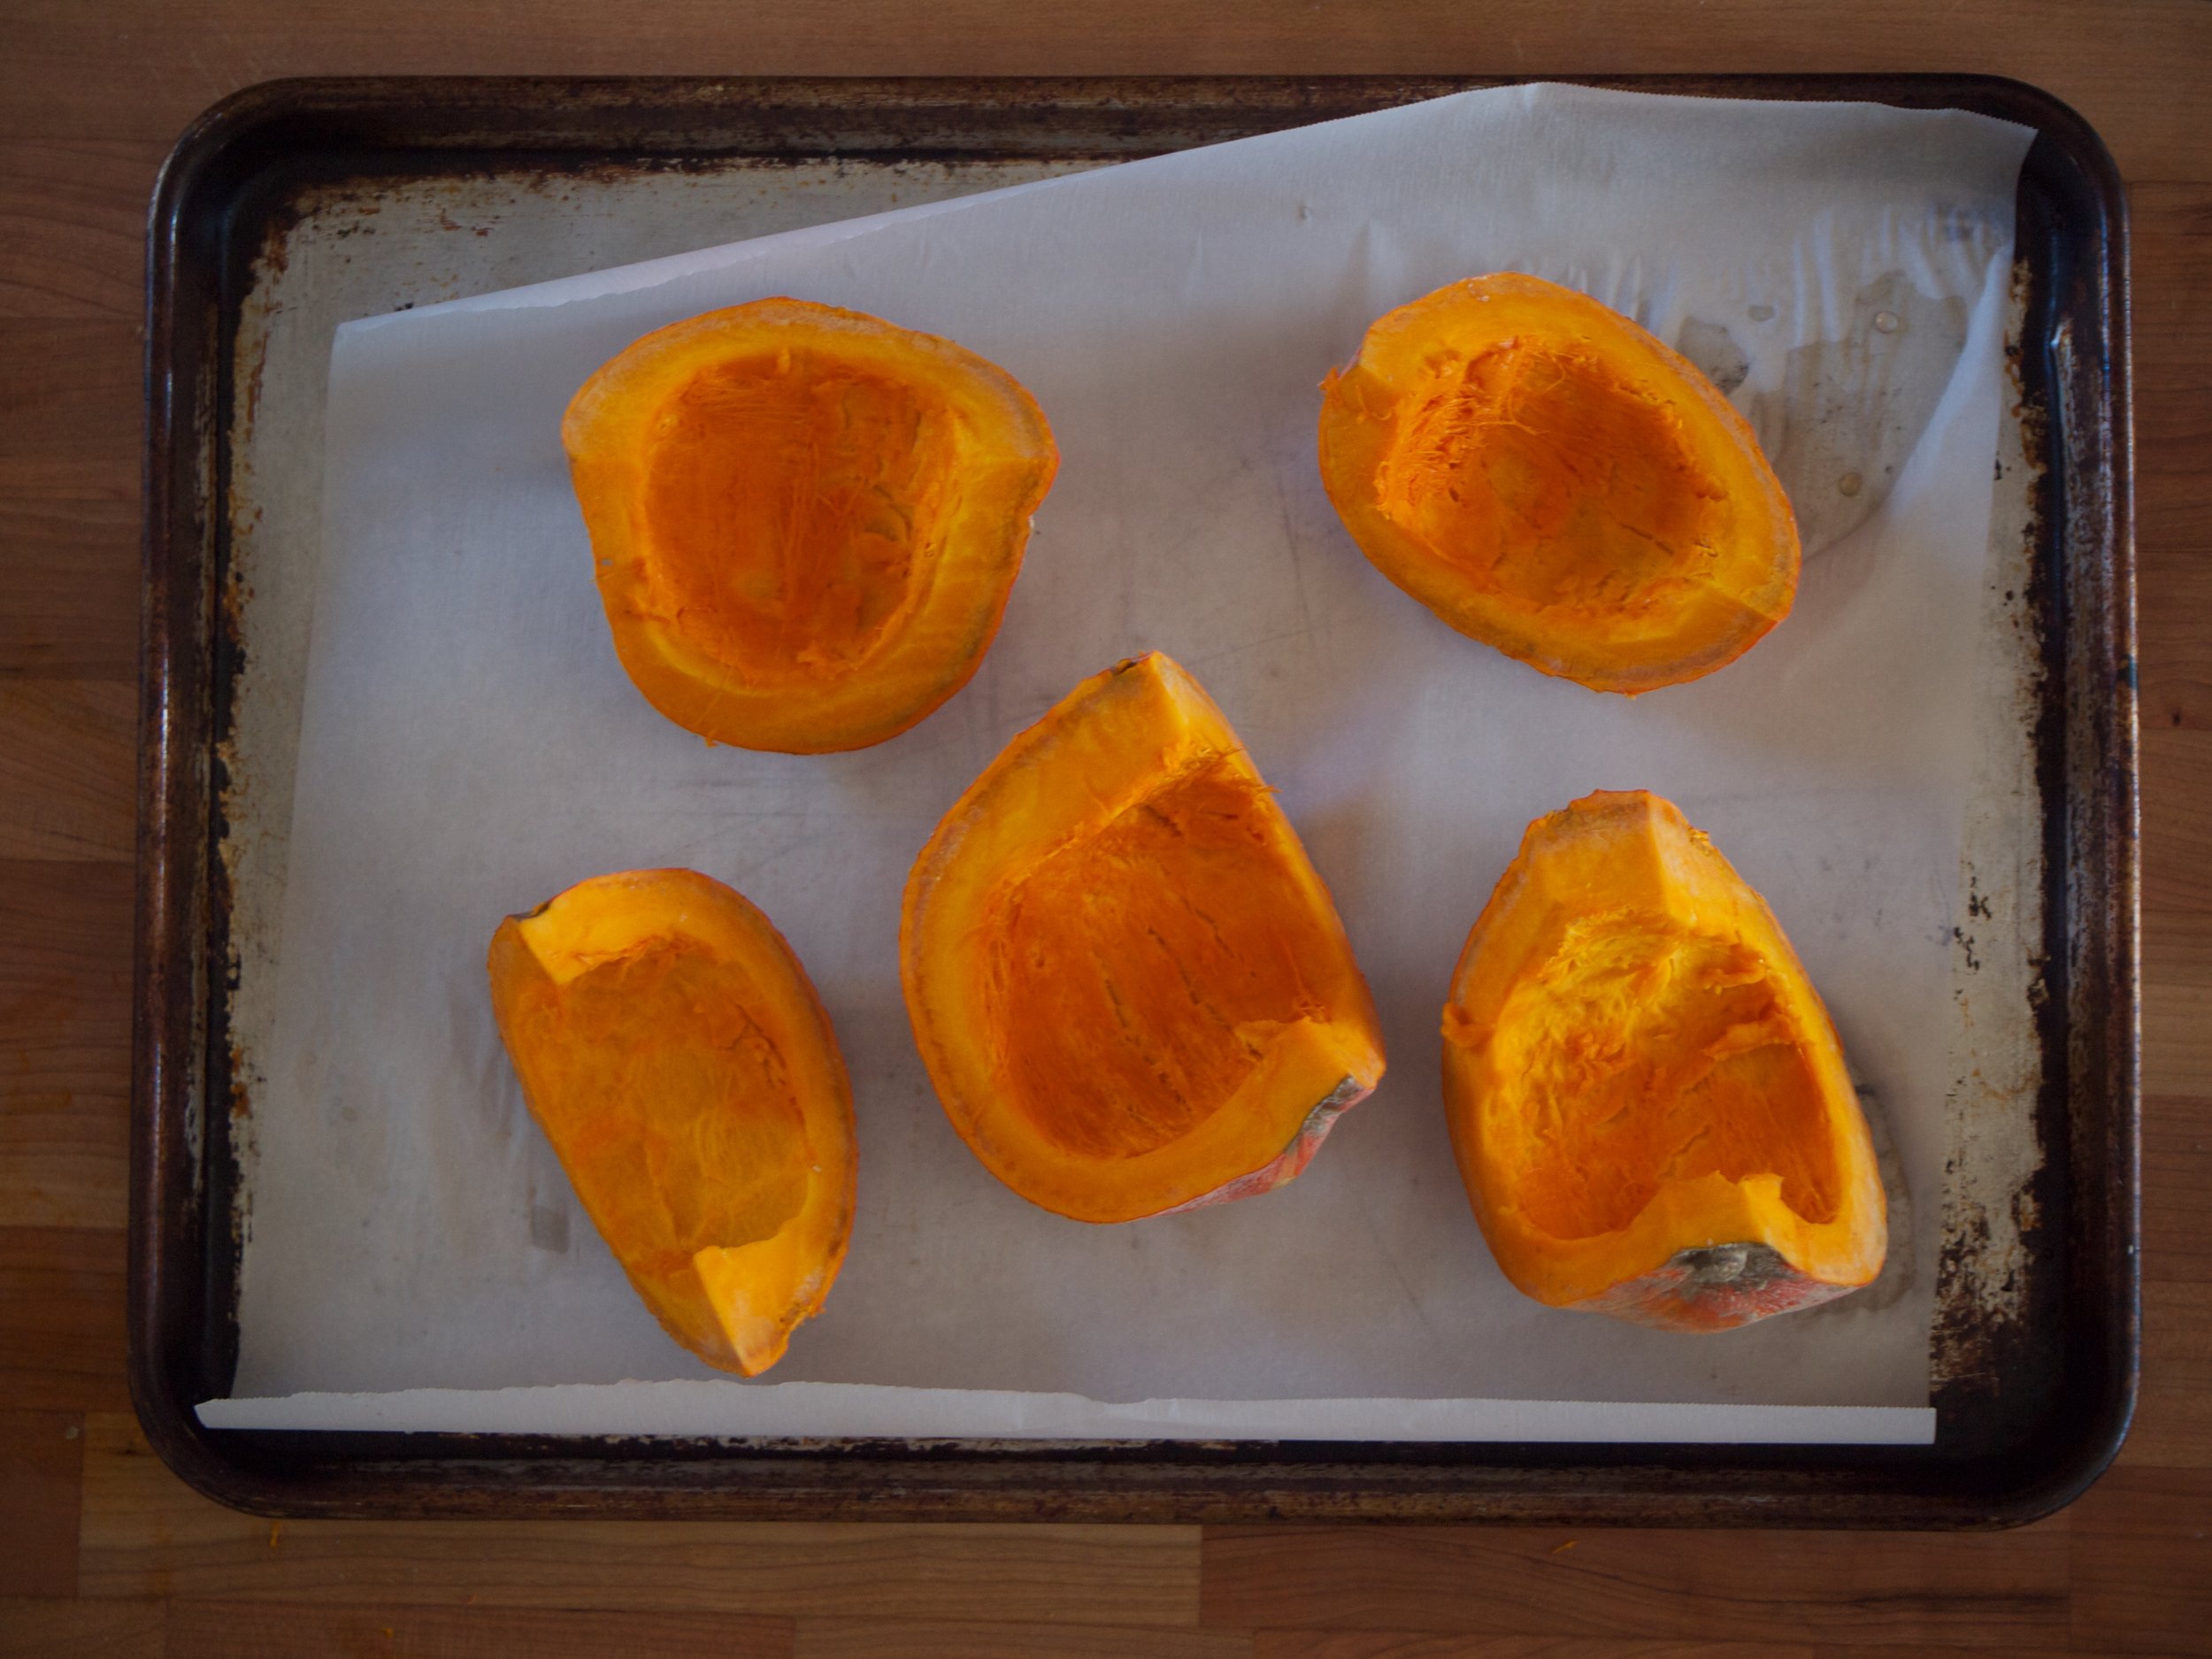
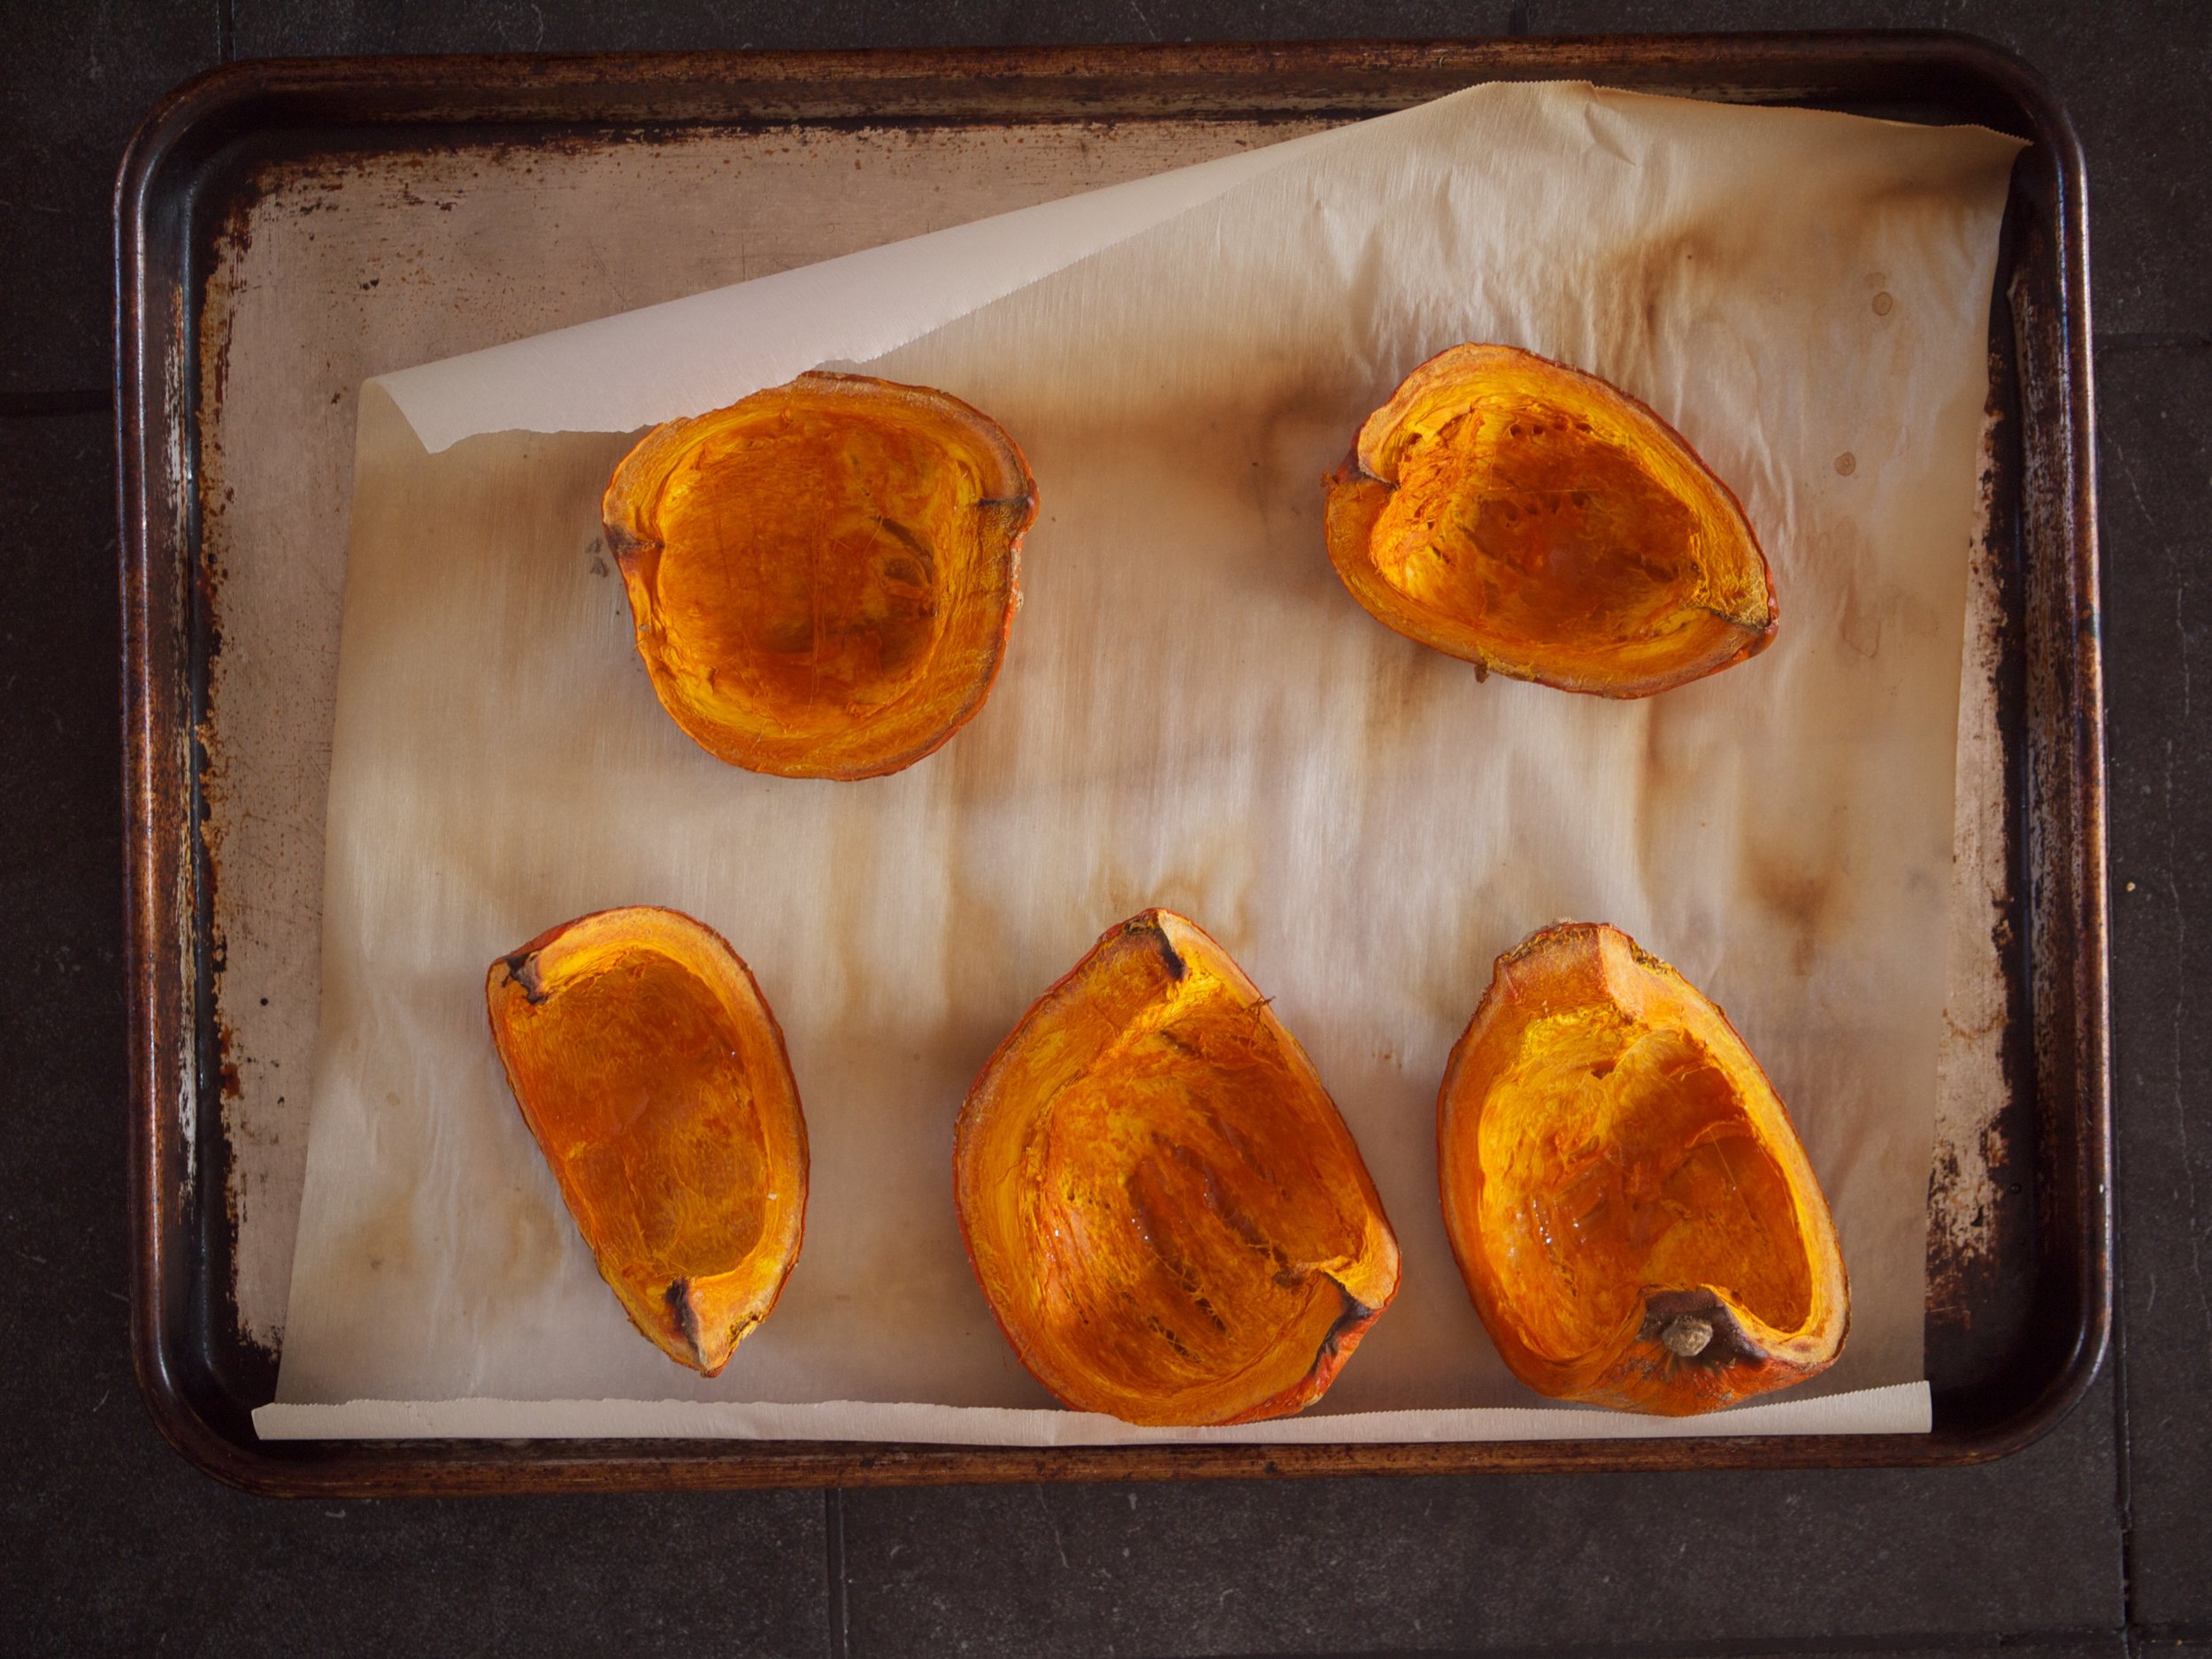
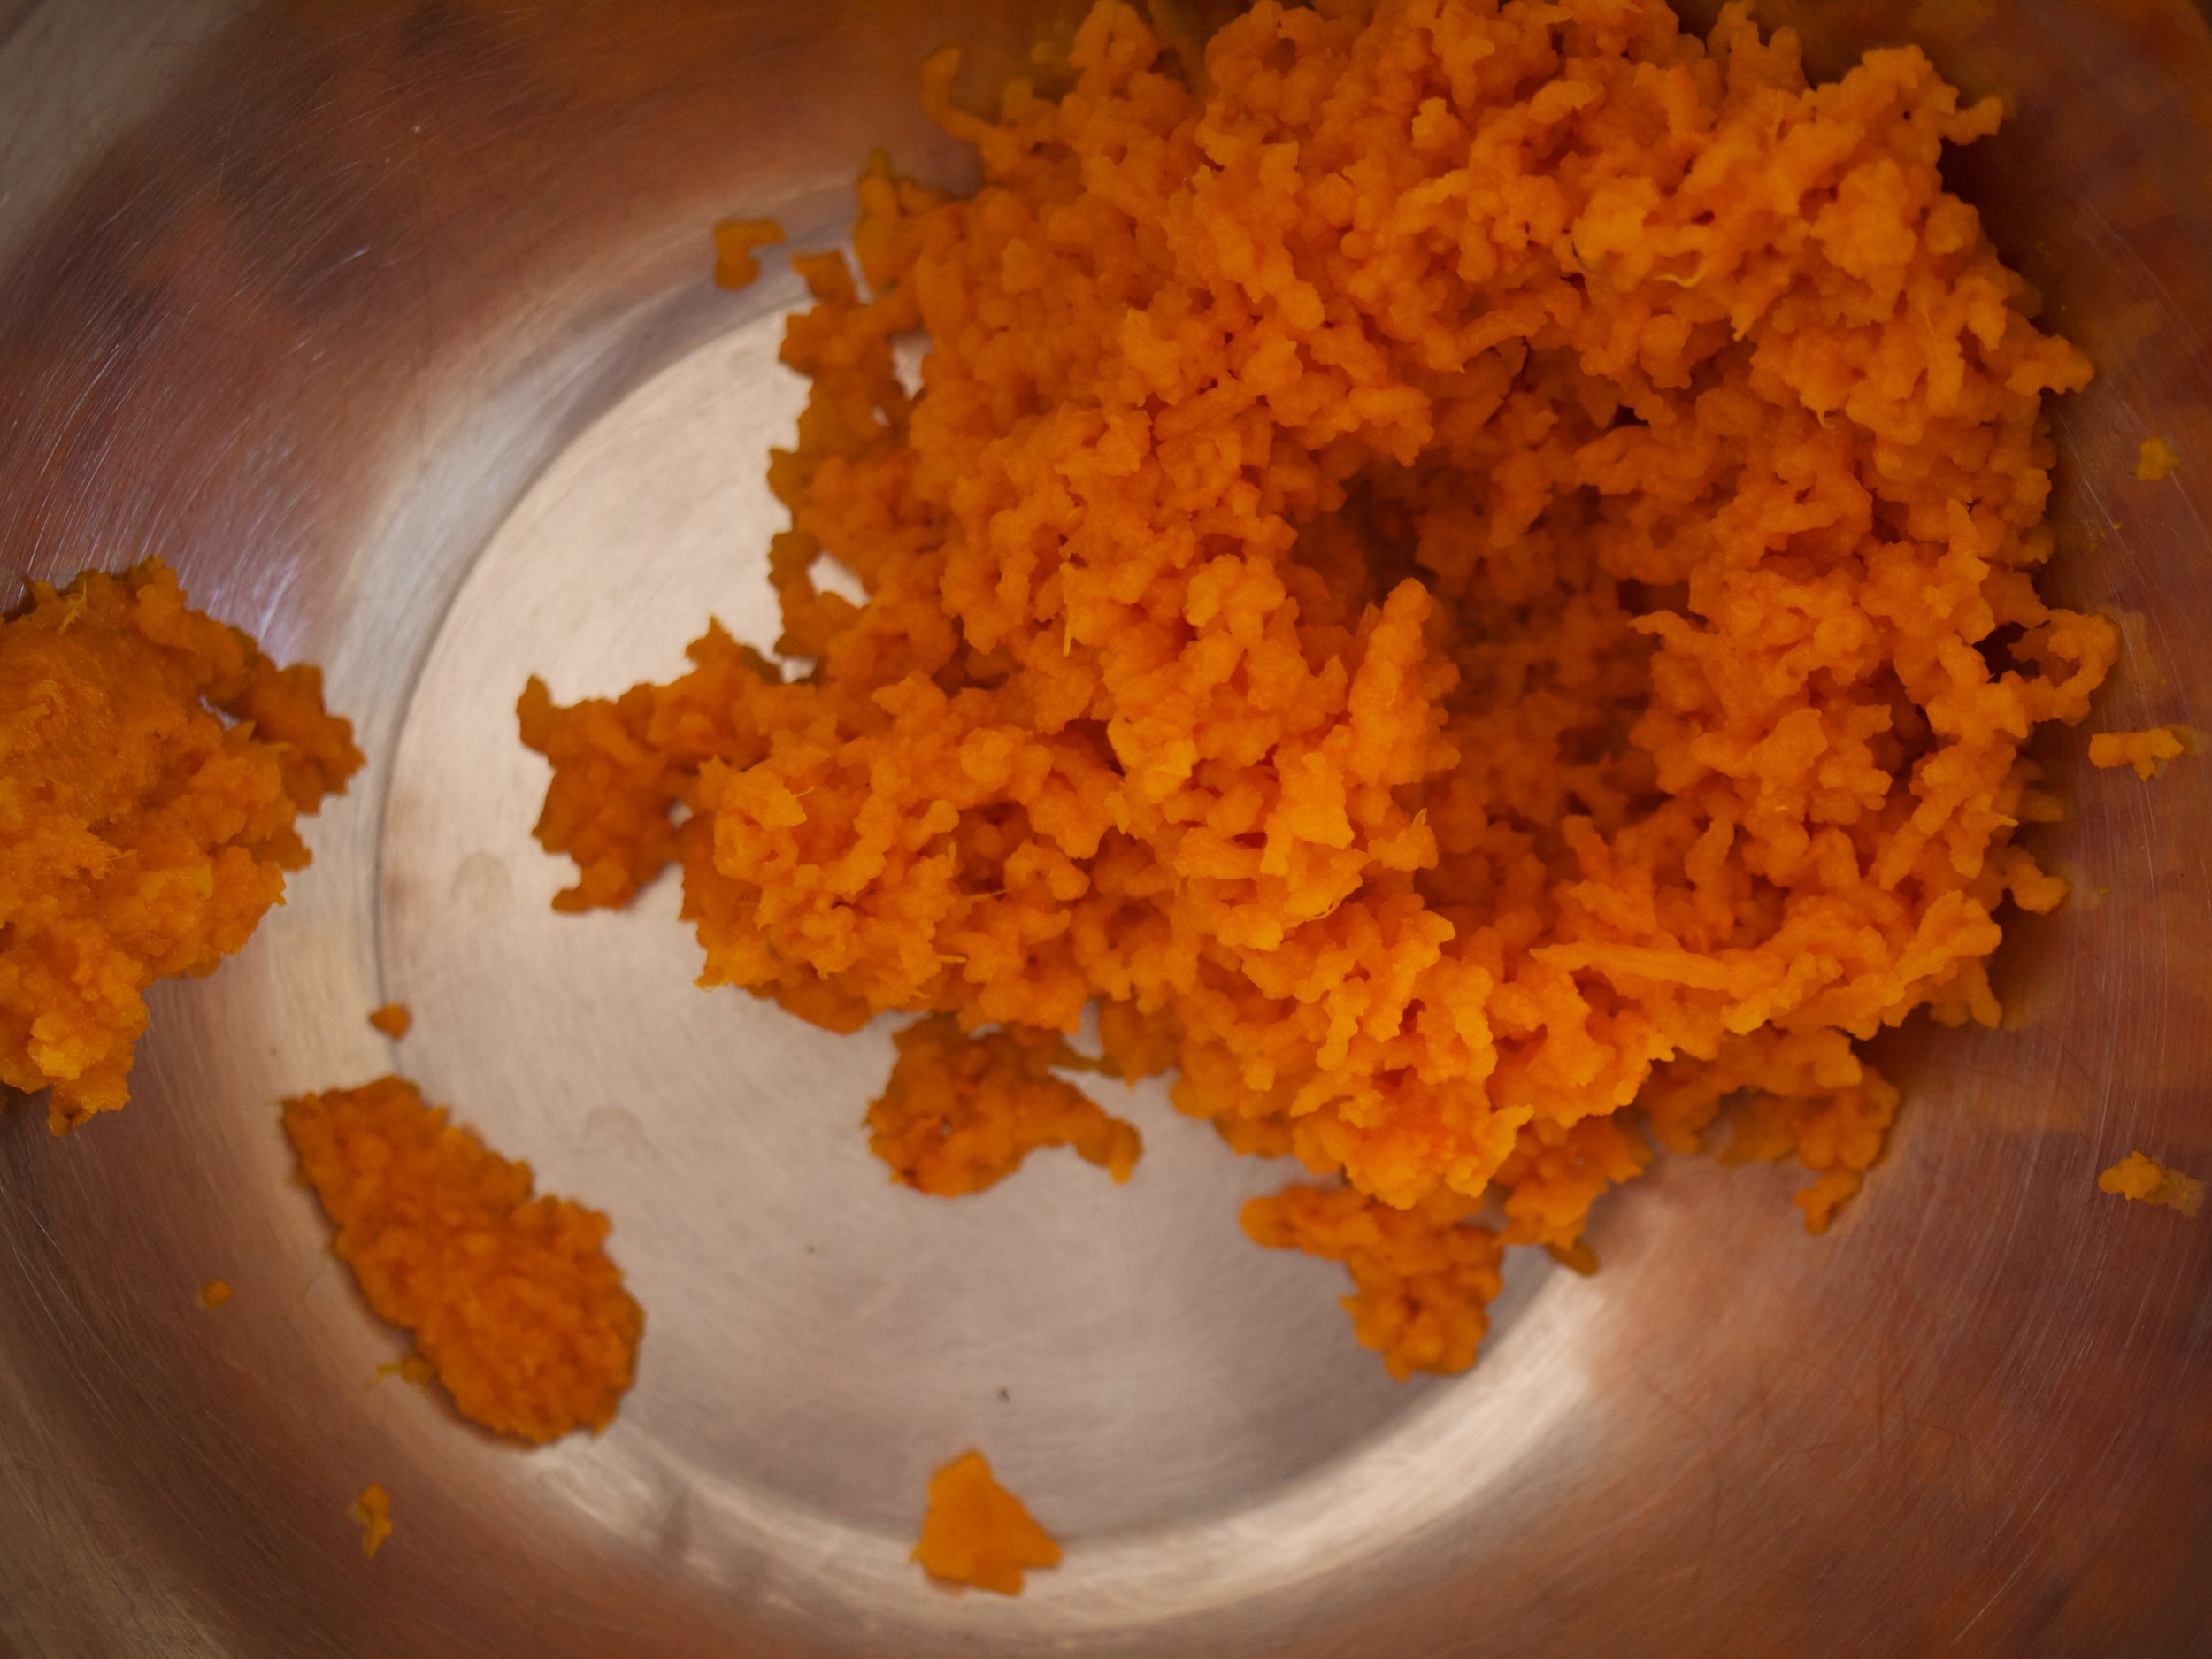
Preheat oven to 350 degrees. Cut a small pumpkin into large wedges, remove the seeds, then put on a sheet tray (parchment makes for easier cleanup). Wash 3 large russet potatoes—about an equal weight of potatoes and pumpkin—stab them couple of times with a sharp knife, and put directly on the oven rack. Bake the pumpkin and potatoes until soft, about an hour.
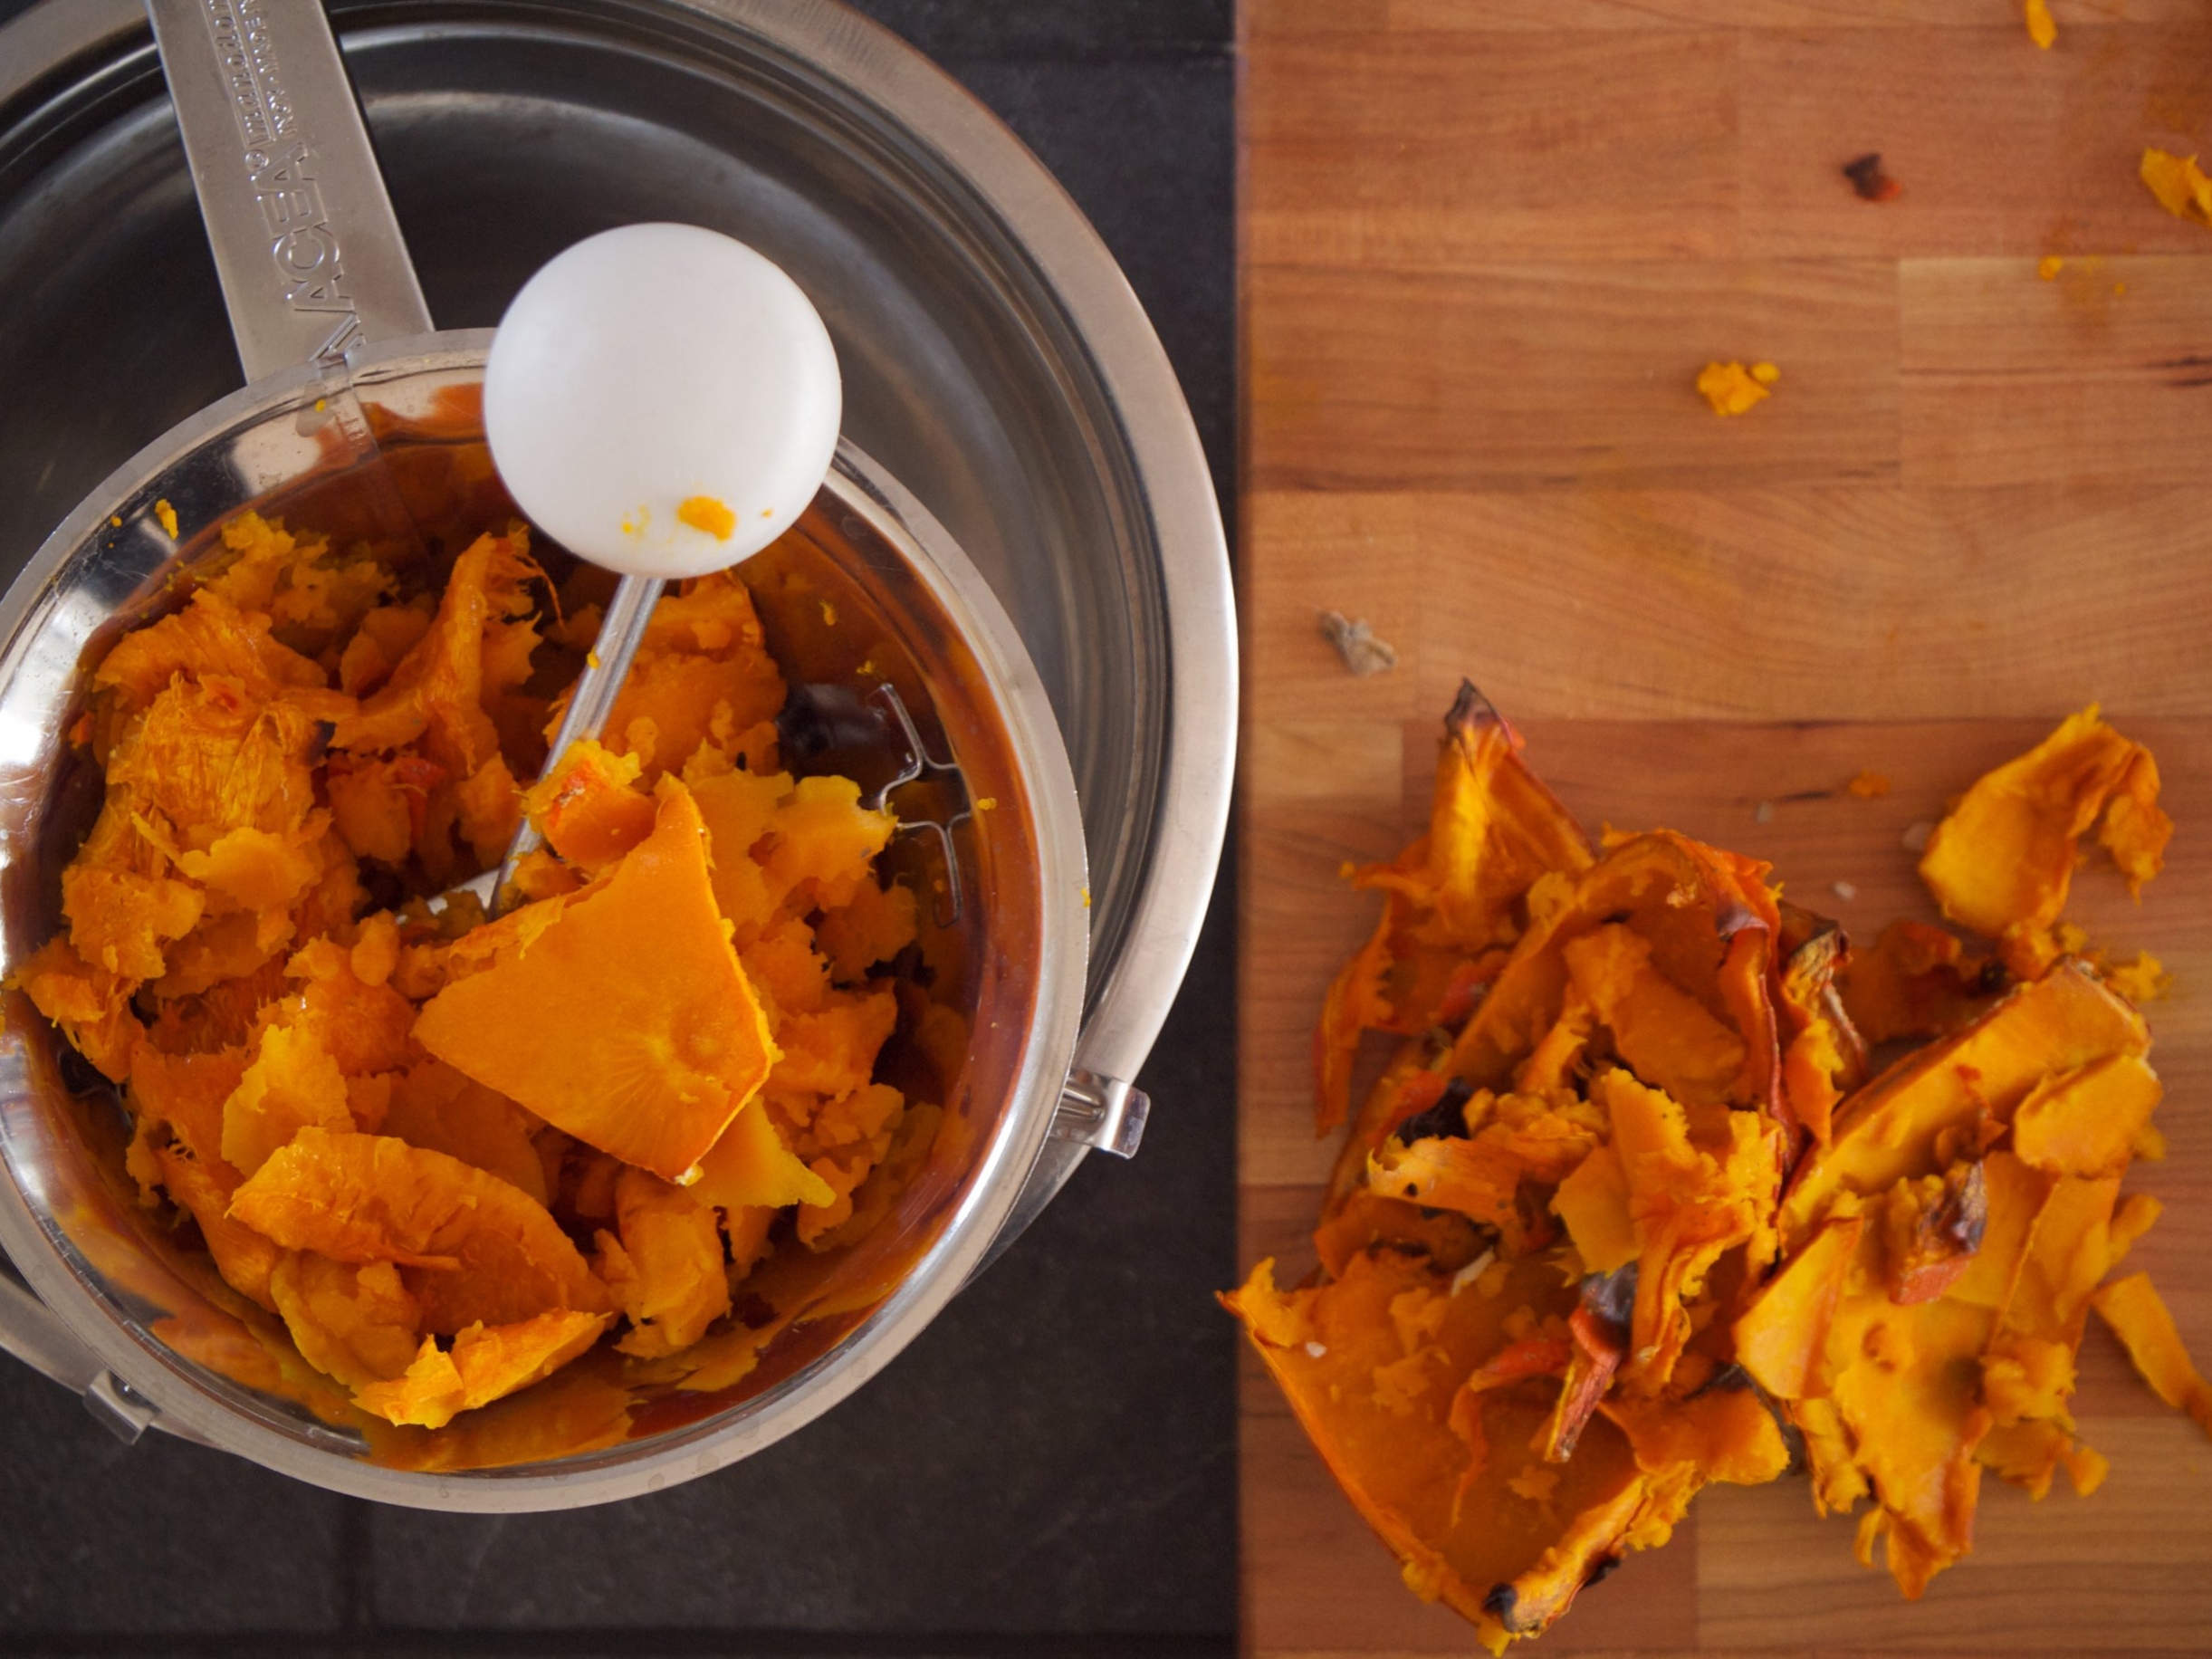
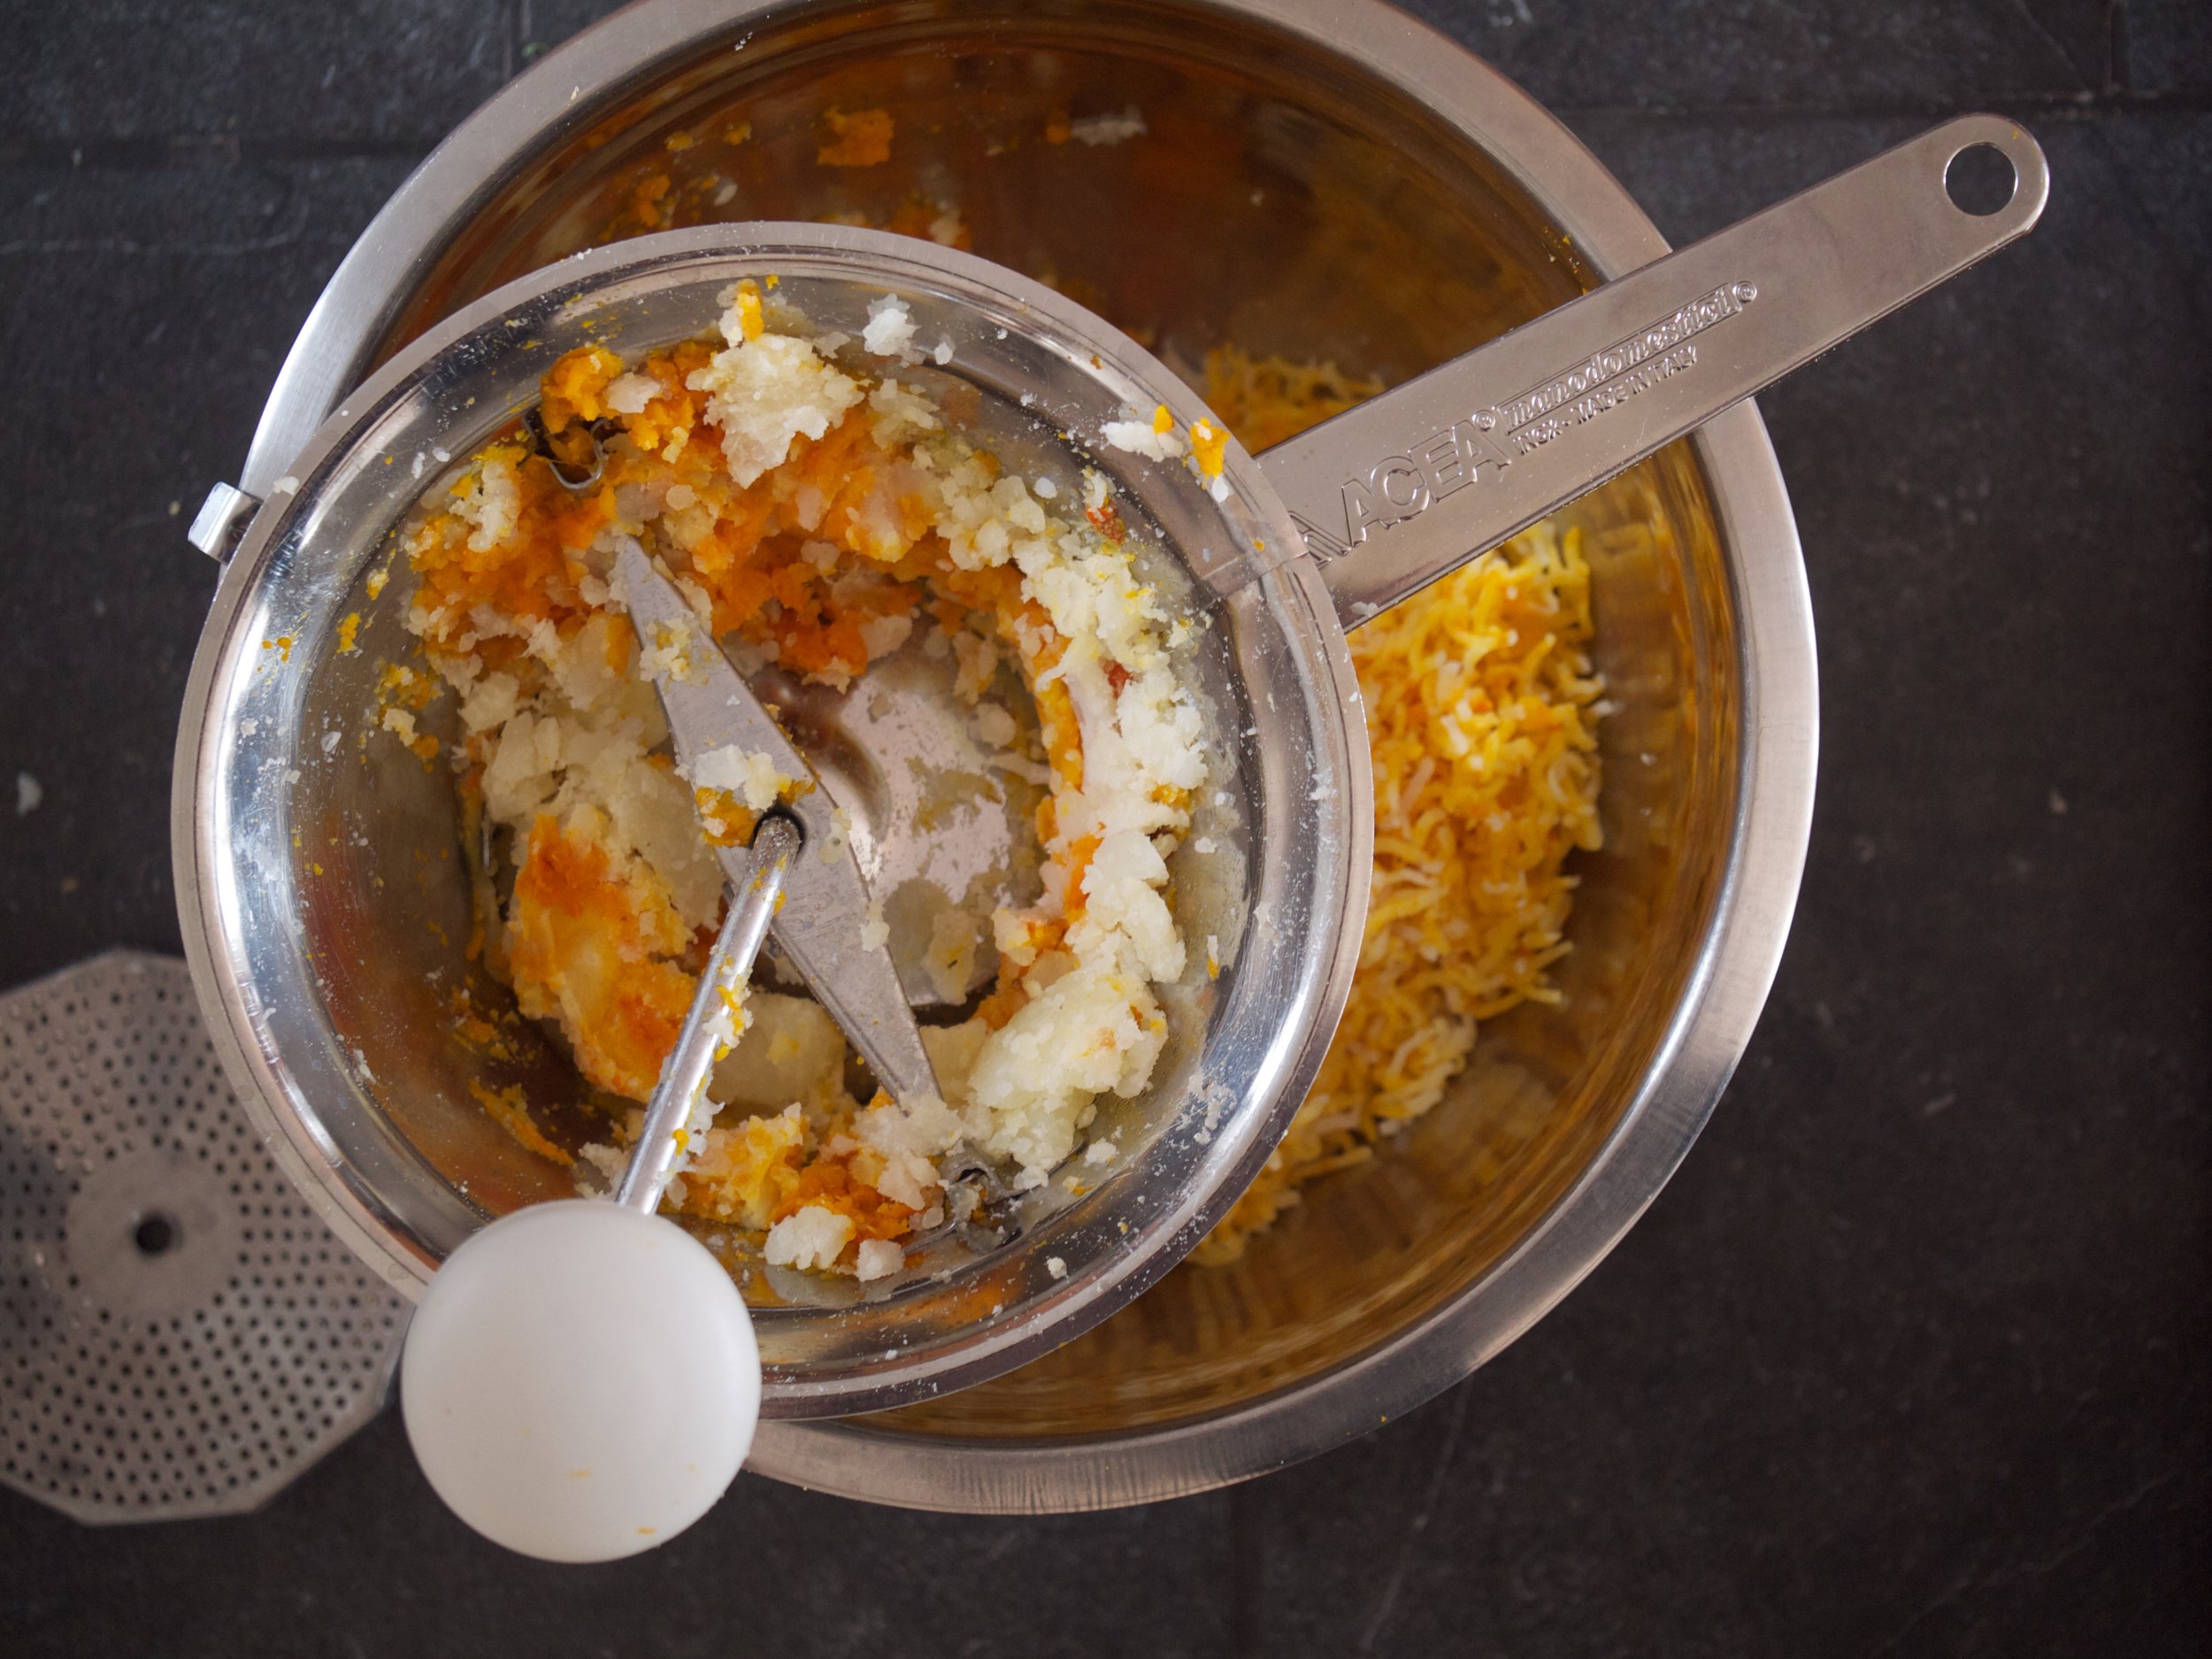
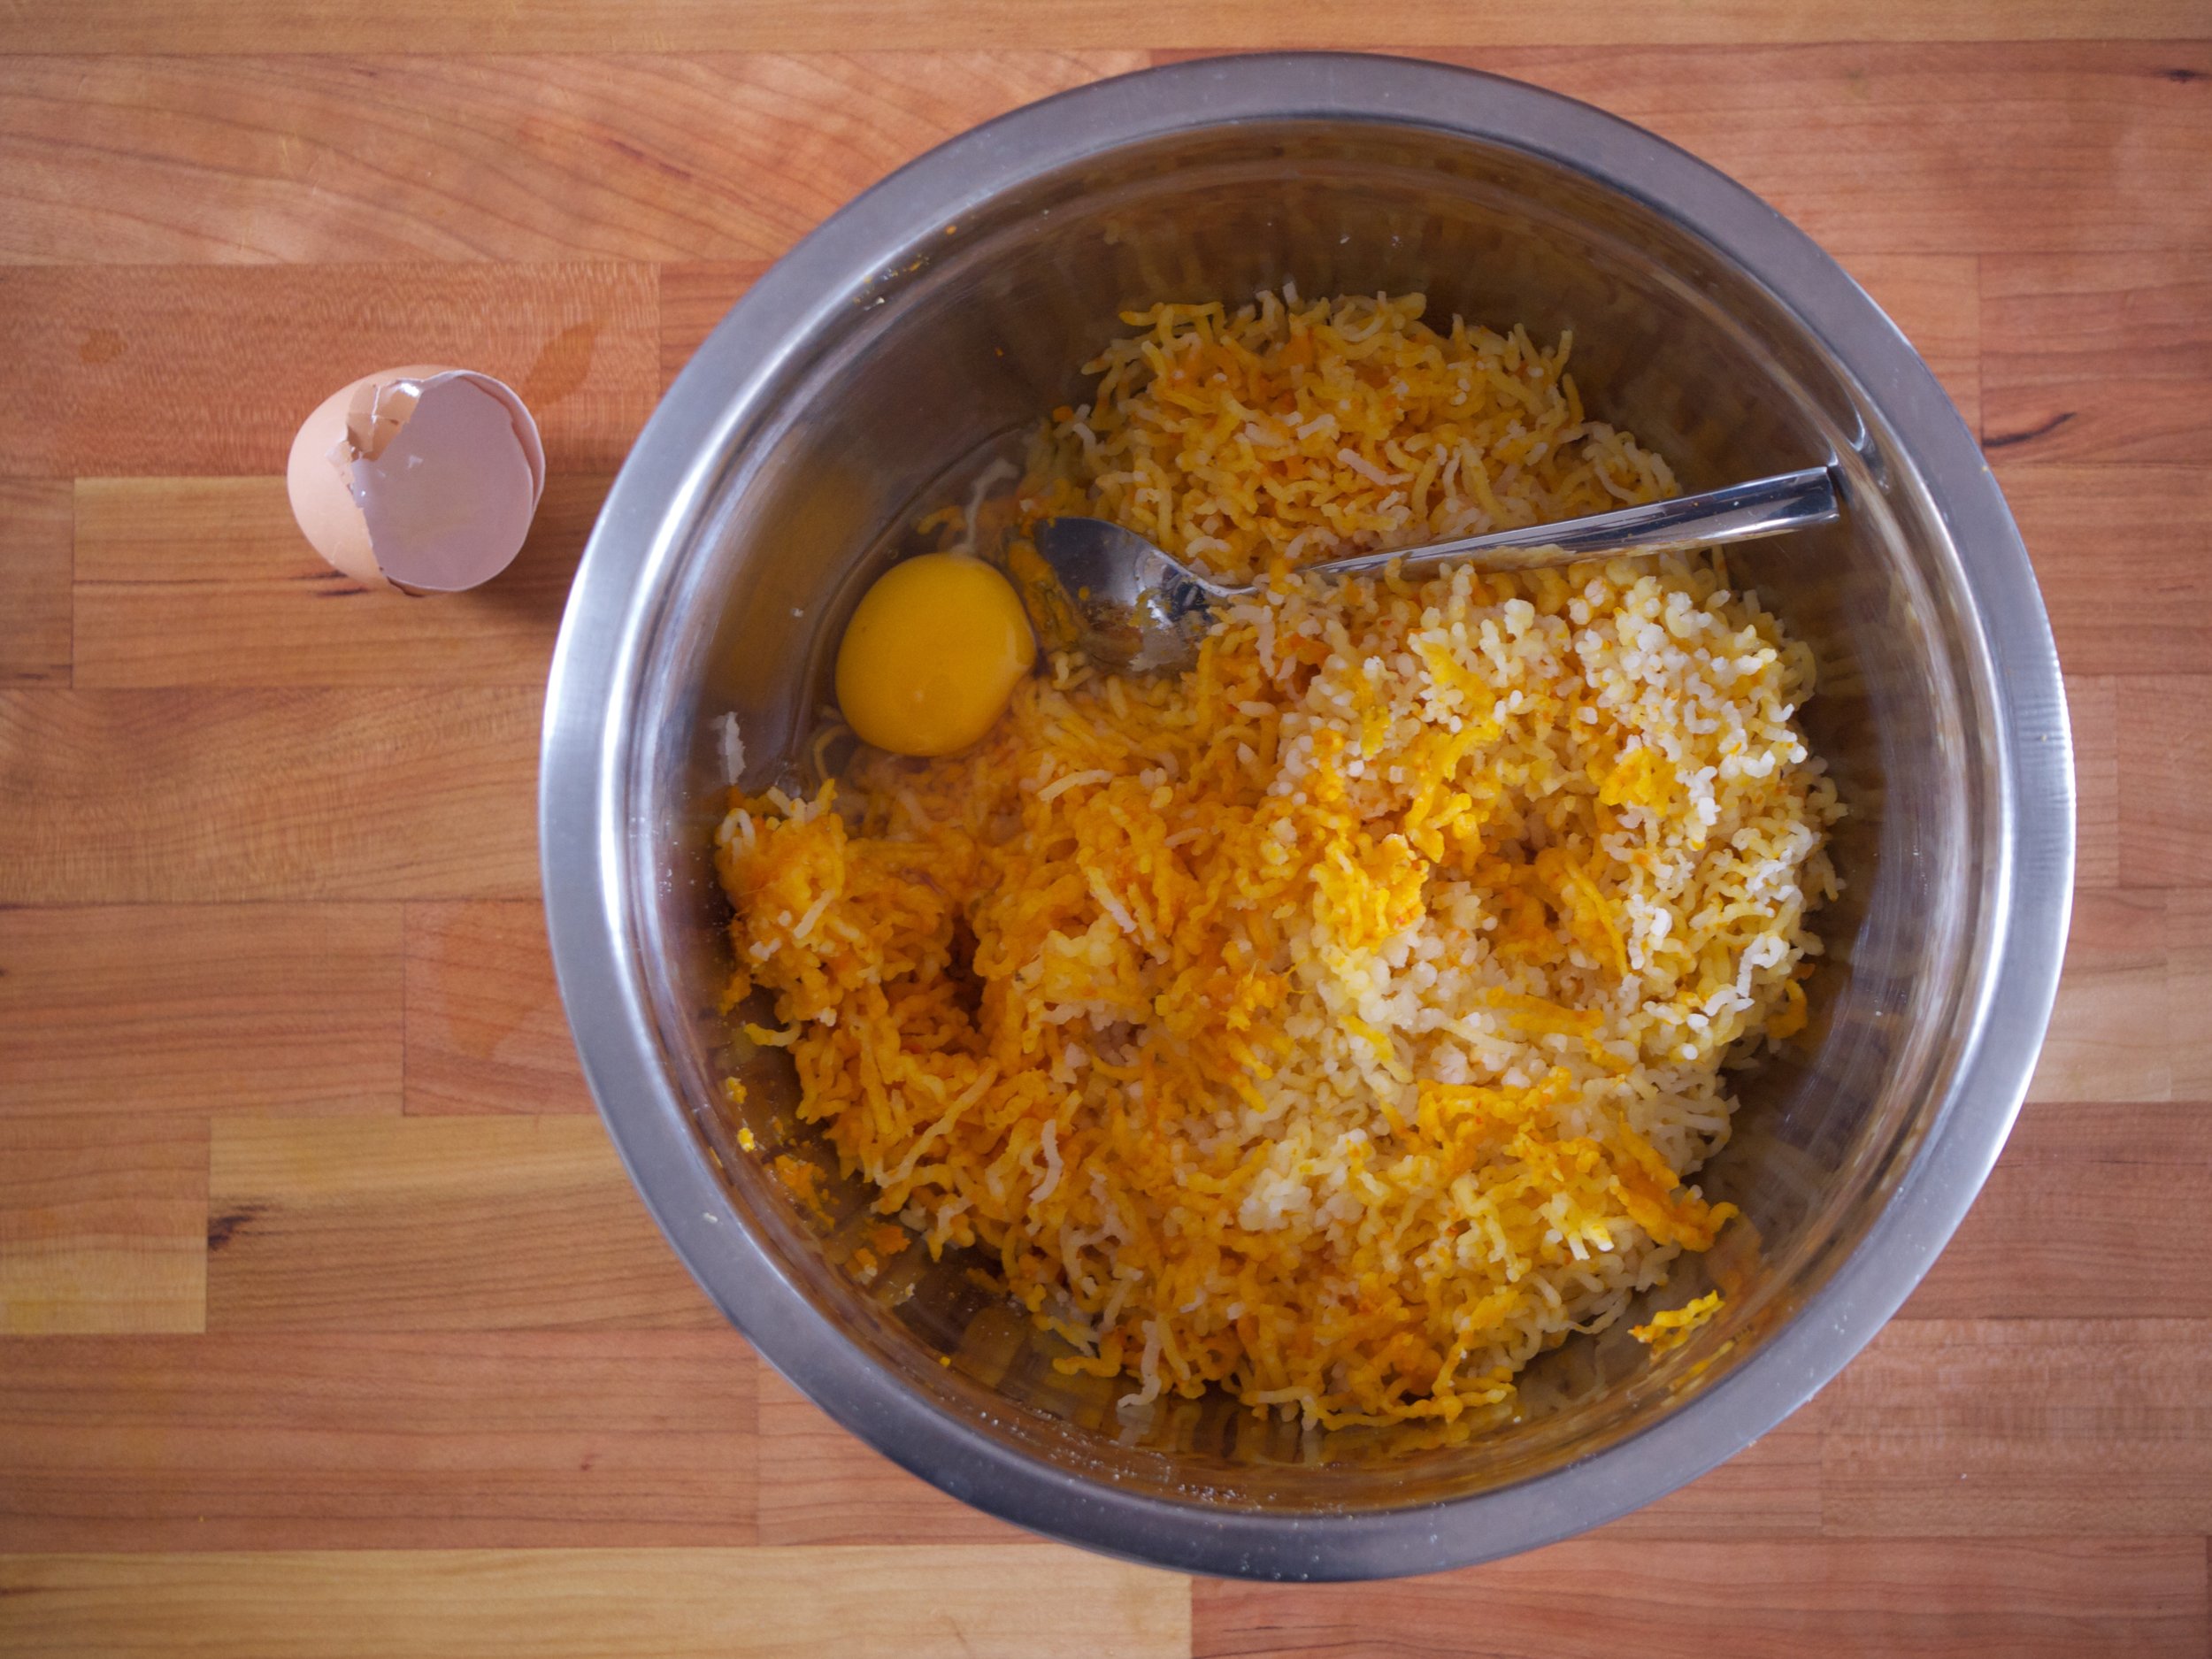
Cut open the potatoes to let out some of the steam. Scoop the still-warm flesh of the pumpkin and potato out of their skins.**** Put the flesh through a ricer.** Add one egg, a very hearty pinch of salt, and the same volume of flour as mashed pumpkin/potato. You can eyeball it; I started with about 2 cups.
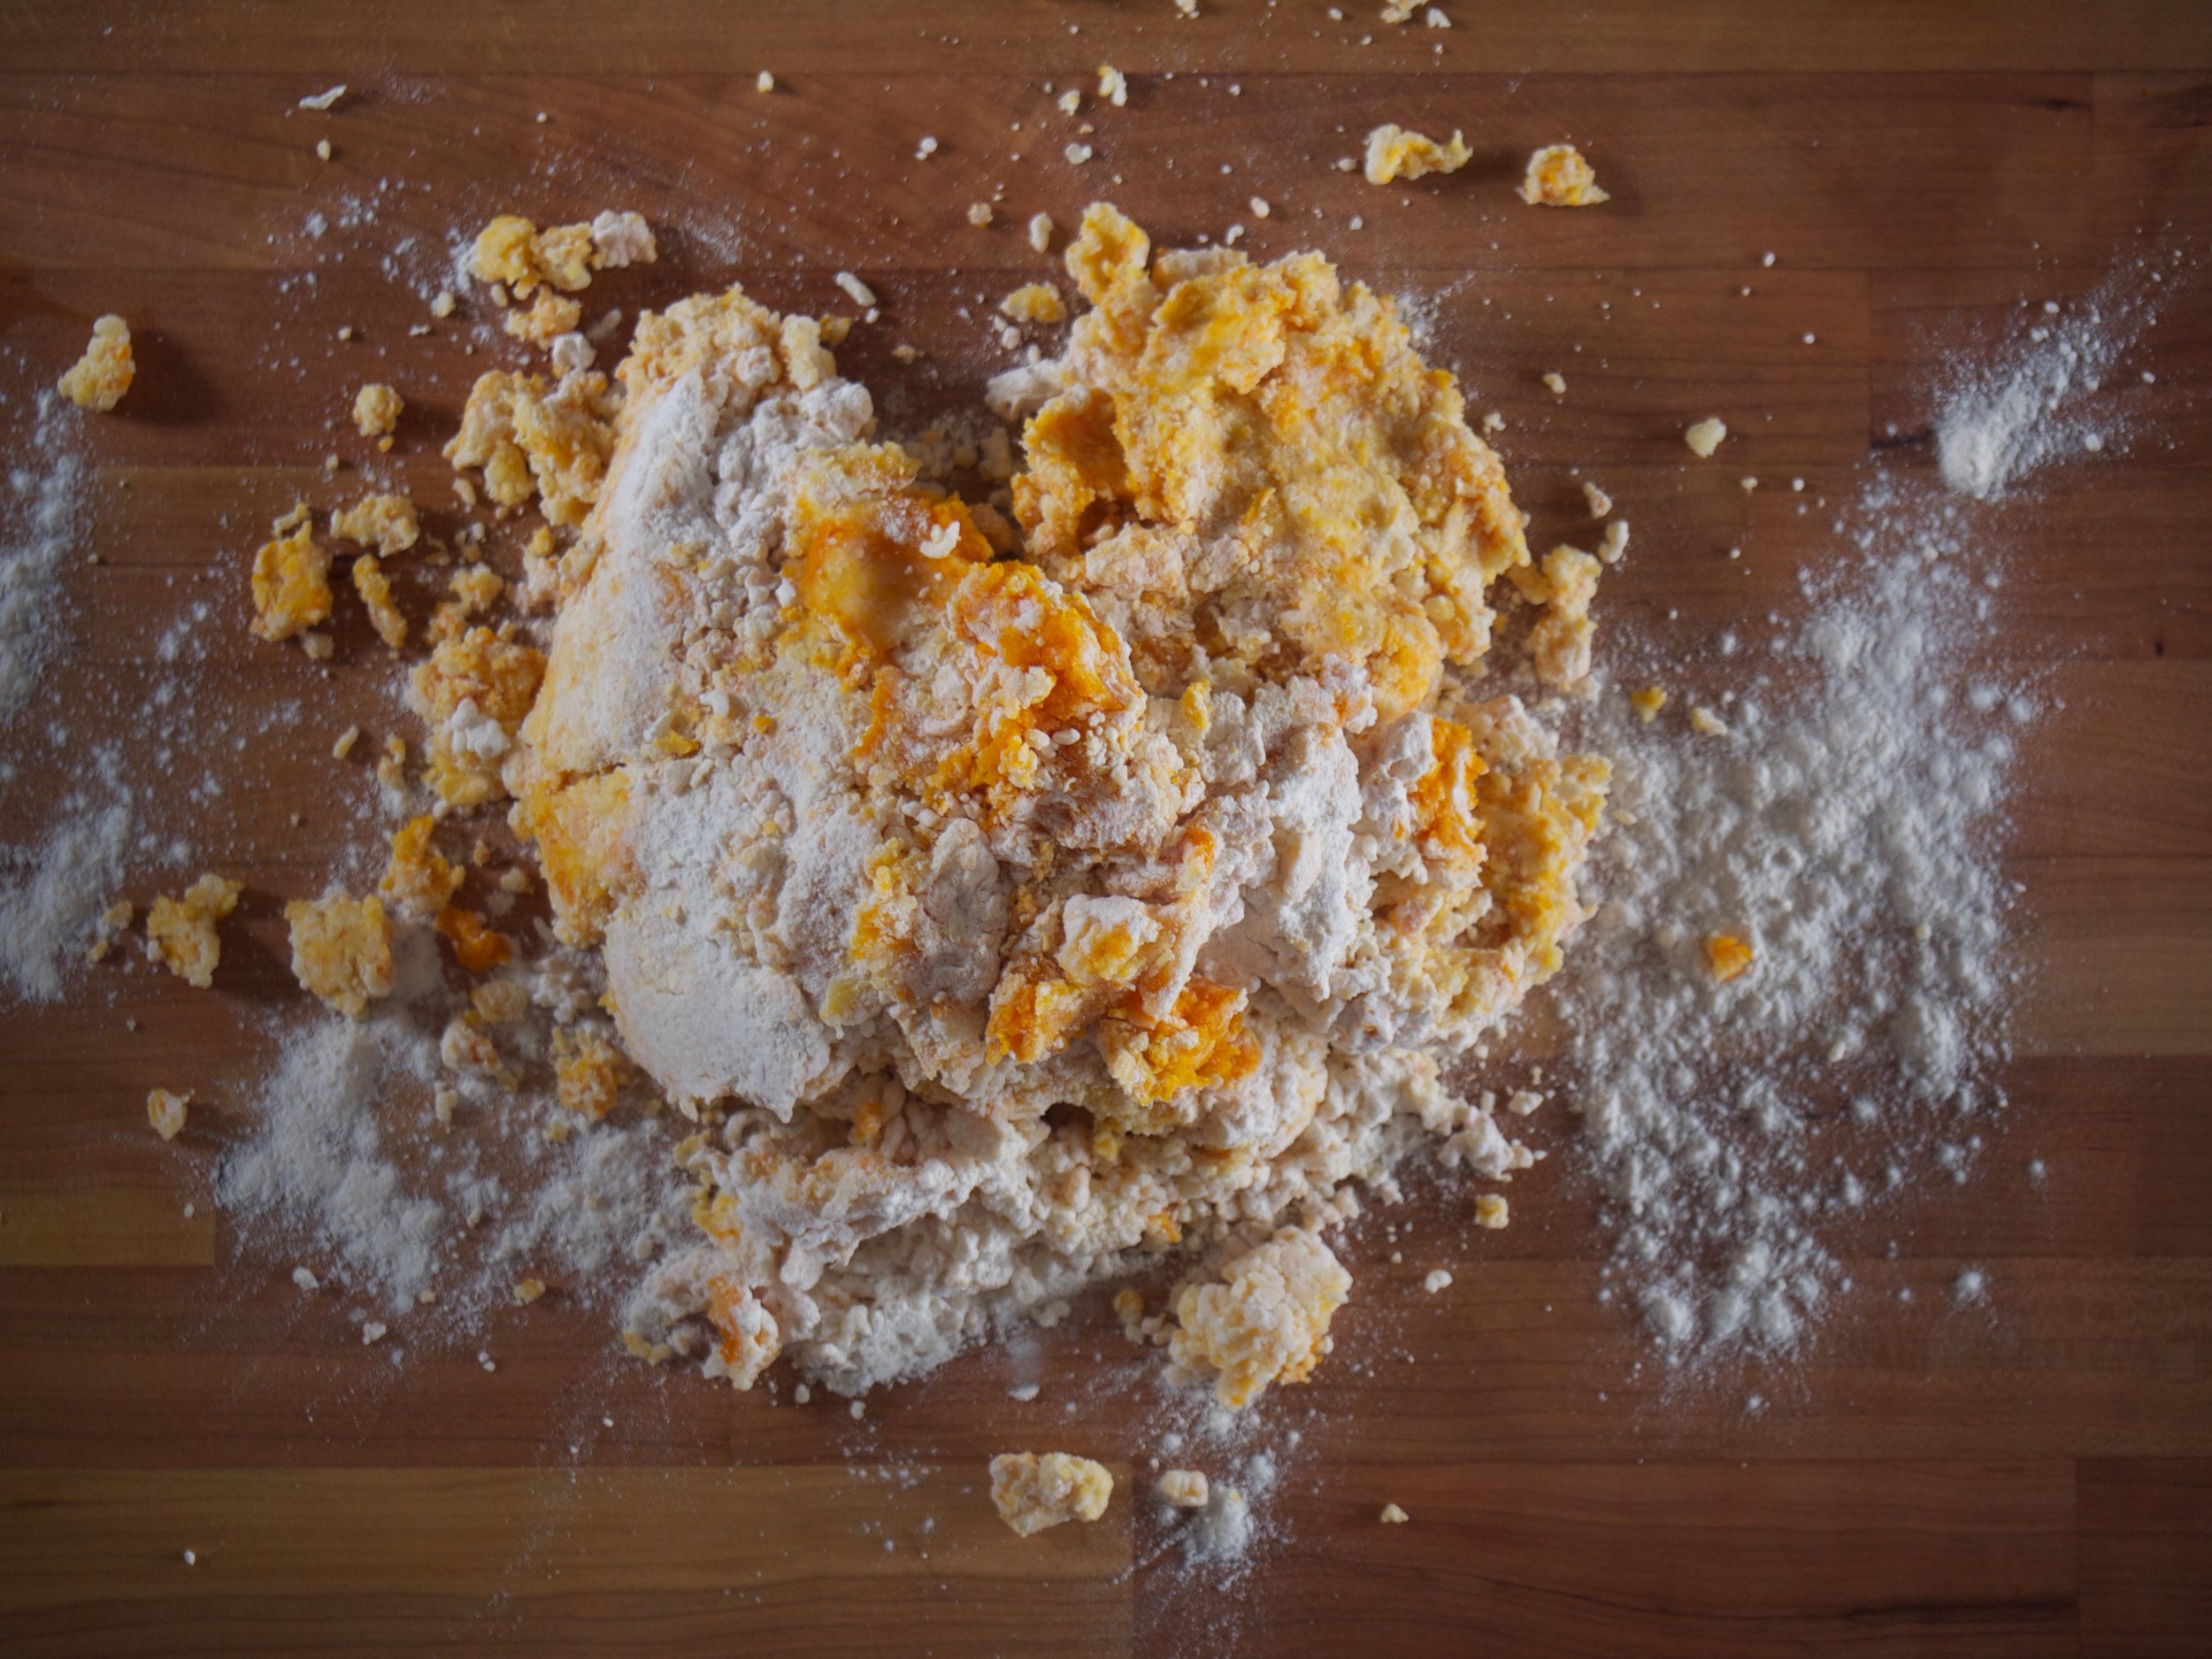
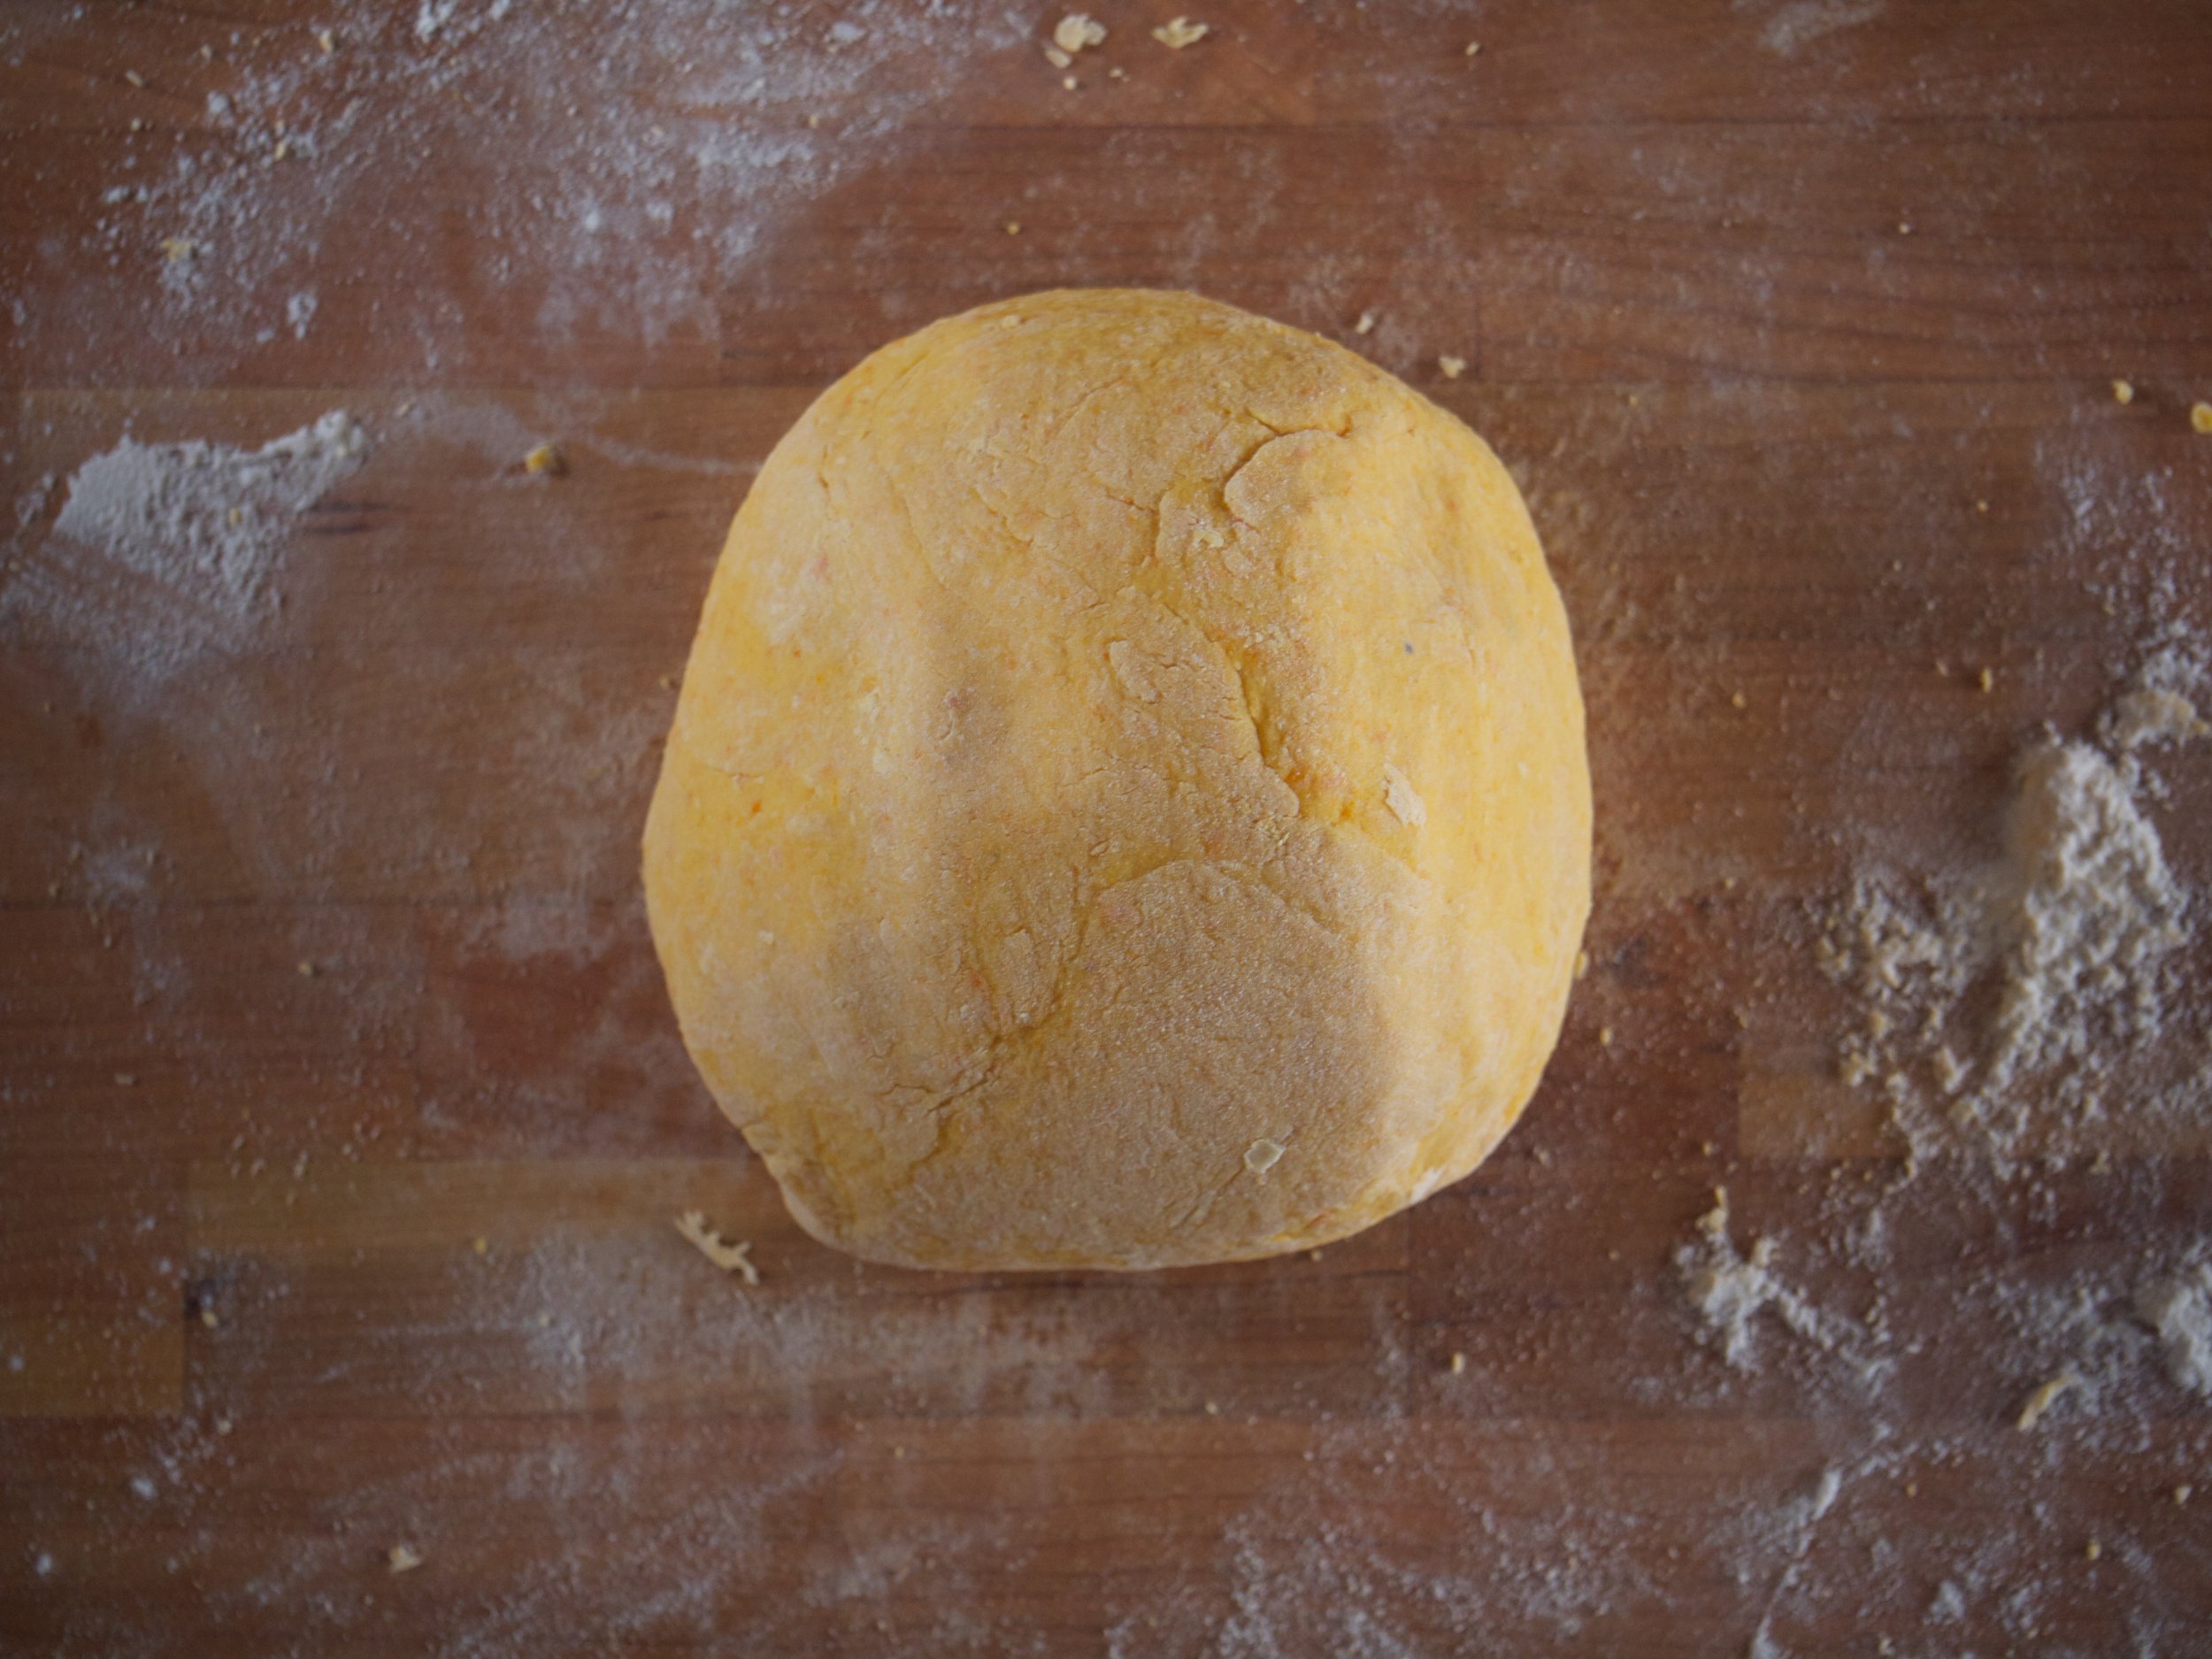
Mix gently, then dump the mixture onto a floured board. Knead the dough, adding more flour only as needed to keep it from being sticky, just until it comes into a smooth, consistent ball. You don’t want to overknead it, which can make the gnocchi tough—be gentle but thorough. You may need quite a bit more flour, depending on how dry your potatoes and pumpkin are; try to keep the flour to a minimum either way. That said, you’ll likely need to add even more flour as you go, as the dough will absorb the flour as it sits.
Cut off a small piece of the dough and roll into a thick rope a bit thicker than your thumb. Cut the rope into 1/2- to 1-inch pieces. Gently press each piece against the back of a fork (if a floured side touches the fork it will be easier), making an indentation with your thumb; then, push them off the fork at an angle so one side rolls against the tines, creating ridges on the opposite side of your thumb’s indentation. Deposit the gnocchi on a parchment-covered, flour-dusted sheet tray. Create as many layers of parchment and gnocchi as you need; the gnocchi should not touch each other. Freeze until set, about an hour—this helps them stay intact when cooking.
Add as many frozen gnocchi as you like to a large pot of boiling salted water and stir once very gently. When the gnocchi float to the top of the water, they are done, usually about 3 minutes: remove them carefully as they finish cooking with a spider or slotted spoon. (Do not pour them into a colander to drain, as the pressure could break them up.)
Meanwhile, in a large nonstick pan over medium heat, melt butter to taste (about a tablespoon or two per serving) and cook, swirling, until the water evaporates and the butter turns a nutty-smelling, speckled brown. Add a handful of sage leaves and stir. Turn off the heat. As the gnocchi are finished, add them to pan with the brown butter and sage and toss gently. Grate over Parmesan, re-season as necessary (salt likely!), and enjoy.
* You can try to make gnocchi with other vegetables too. If the vegetable you choose is not as starchy as a potato, try using a higher percentage of russets to help the dough stay together. Fun things to try would be other winter squash, sweet potatoes, or peas. Roasted beets or carrots might even work.
** A ricer, also called a food mill, really will work better than any other tool for this job, since it makes a super fluffy mash without overworking the veggies and making them gluey (making your gnocchi tough and leaden). If you don't have a ricer, and you don't want to spend the ~$25 to get one, you can use a potato masher or a food processor, but be sure to work/process the mash as little possible.
*** You’ll want to make more than you’ll eat in one sitting—it’s not really any more trouble, and they are the ultimate treat on a busy weeknight. Once they are frozen on the sheet tray, put them into a freezer bag and store in the freezer. This amount made enough for about 4 large servings.
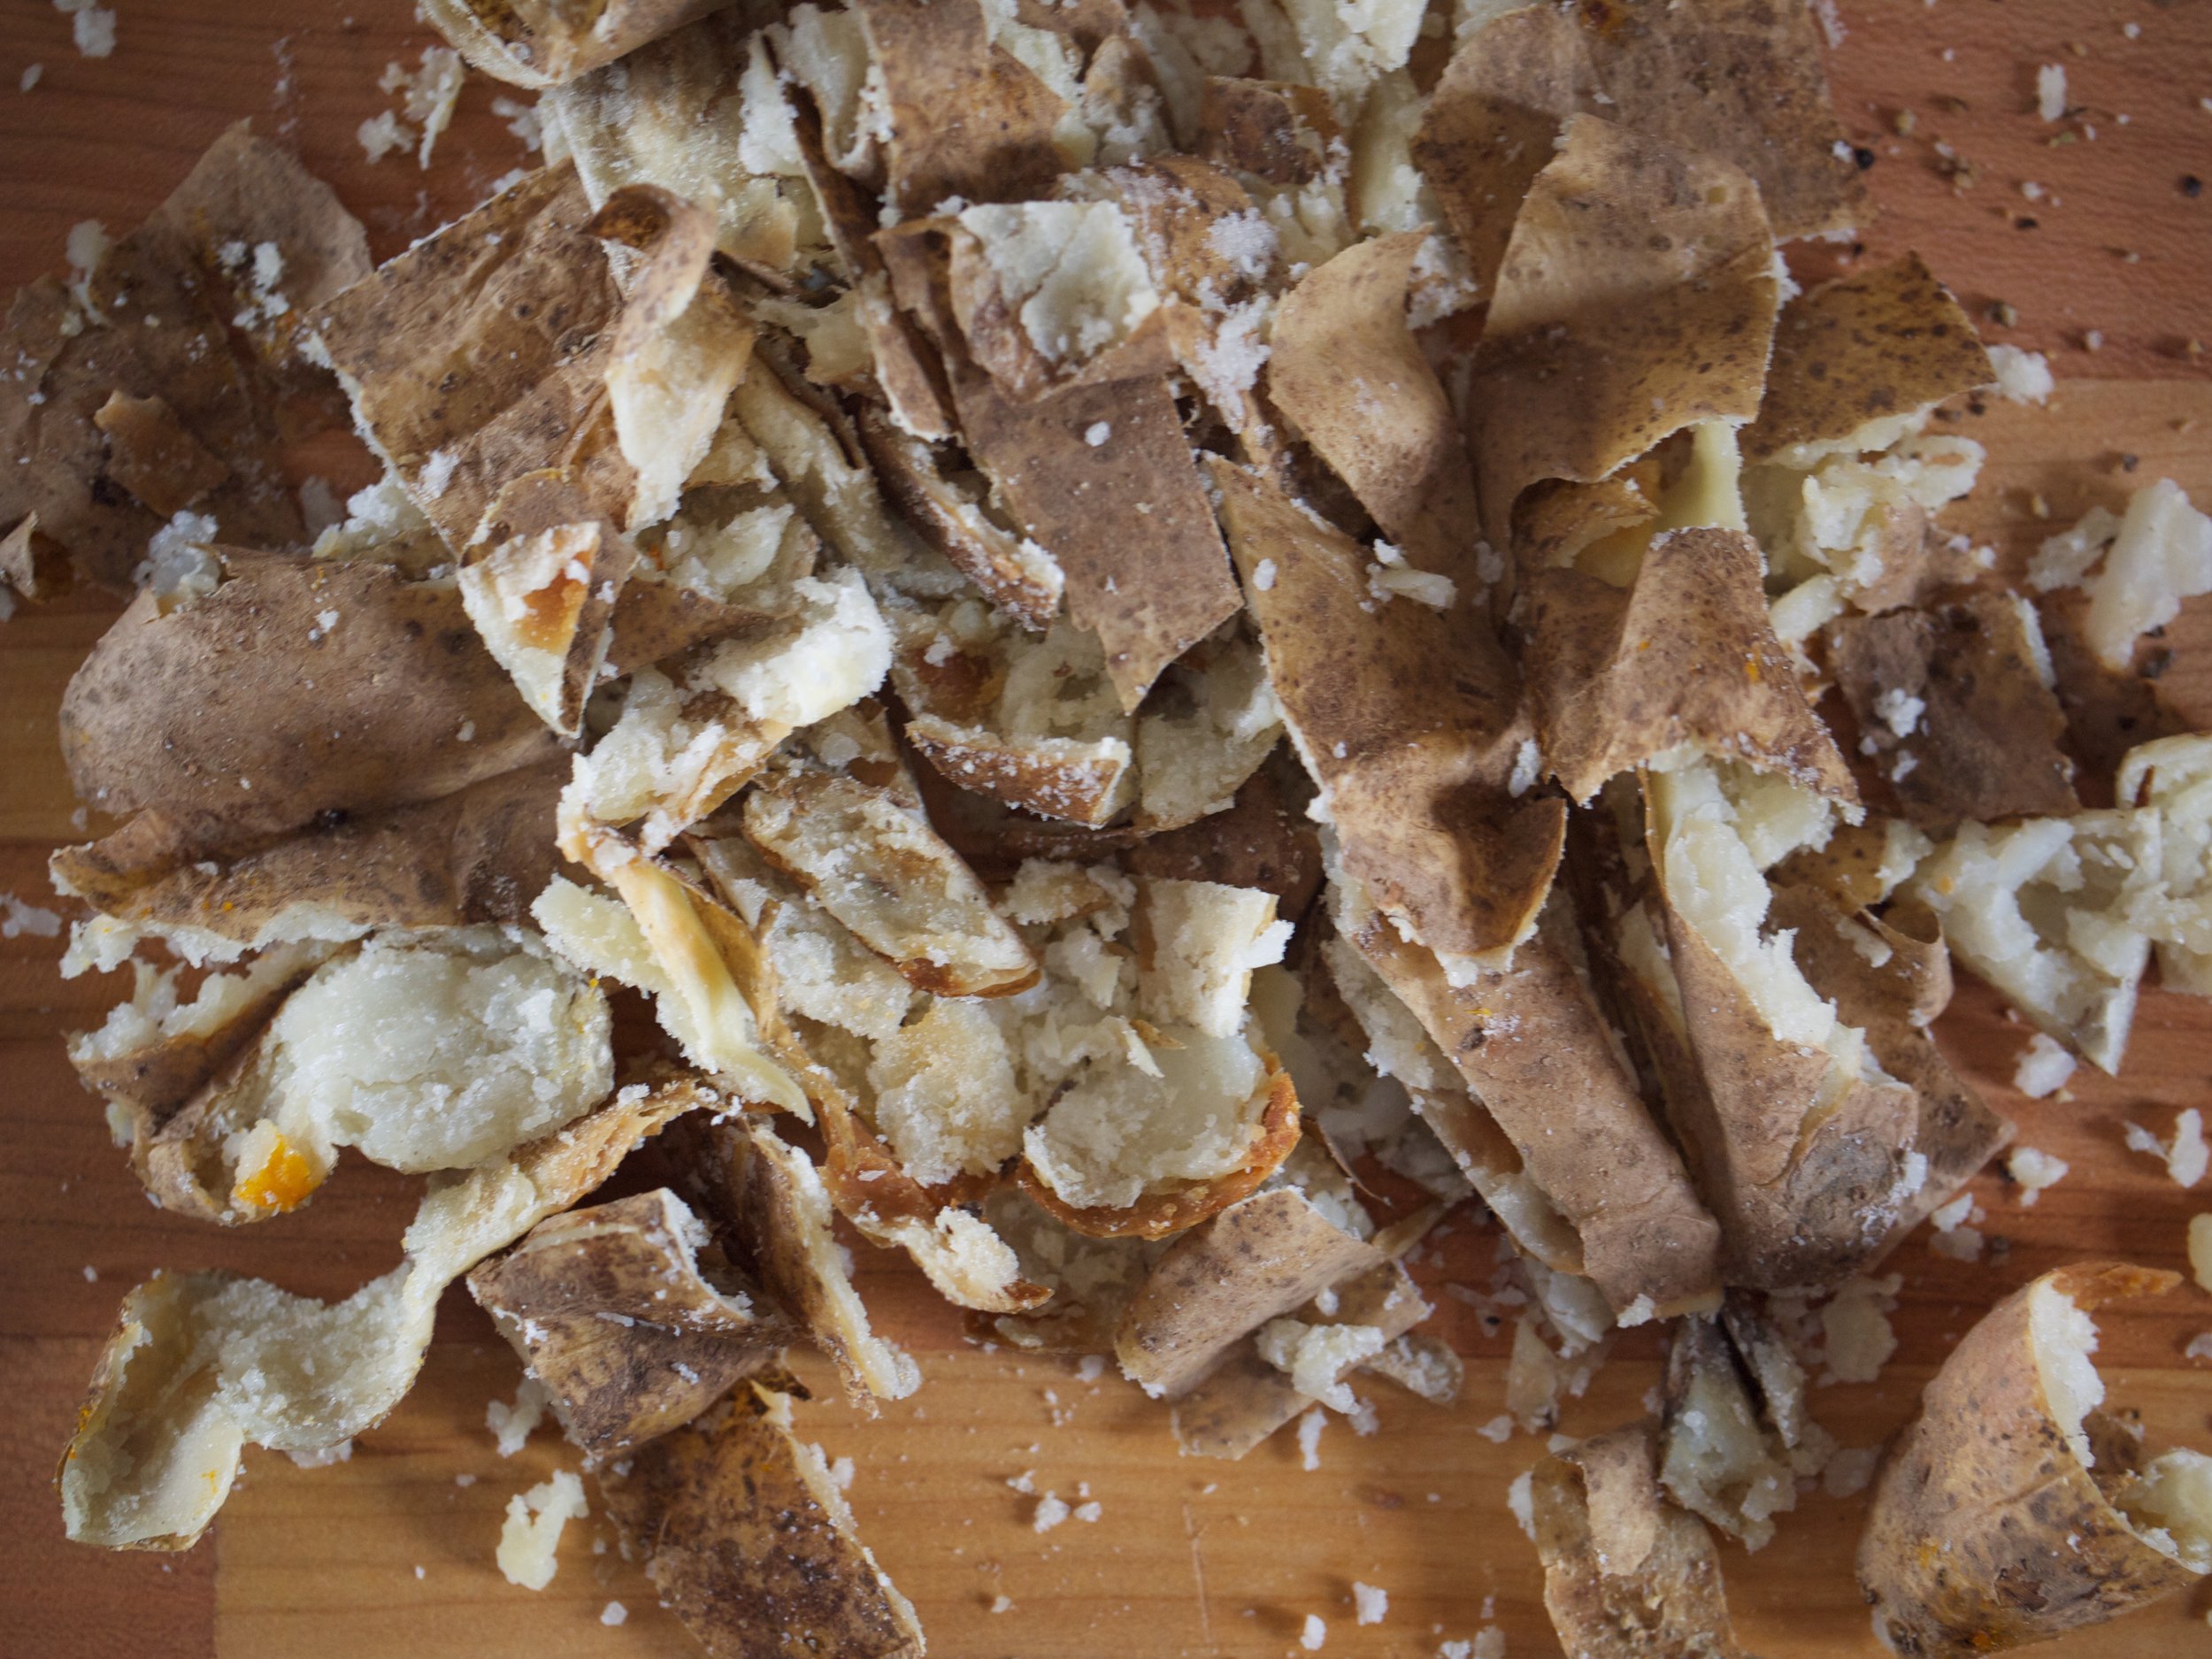
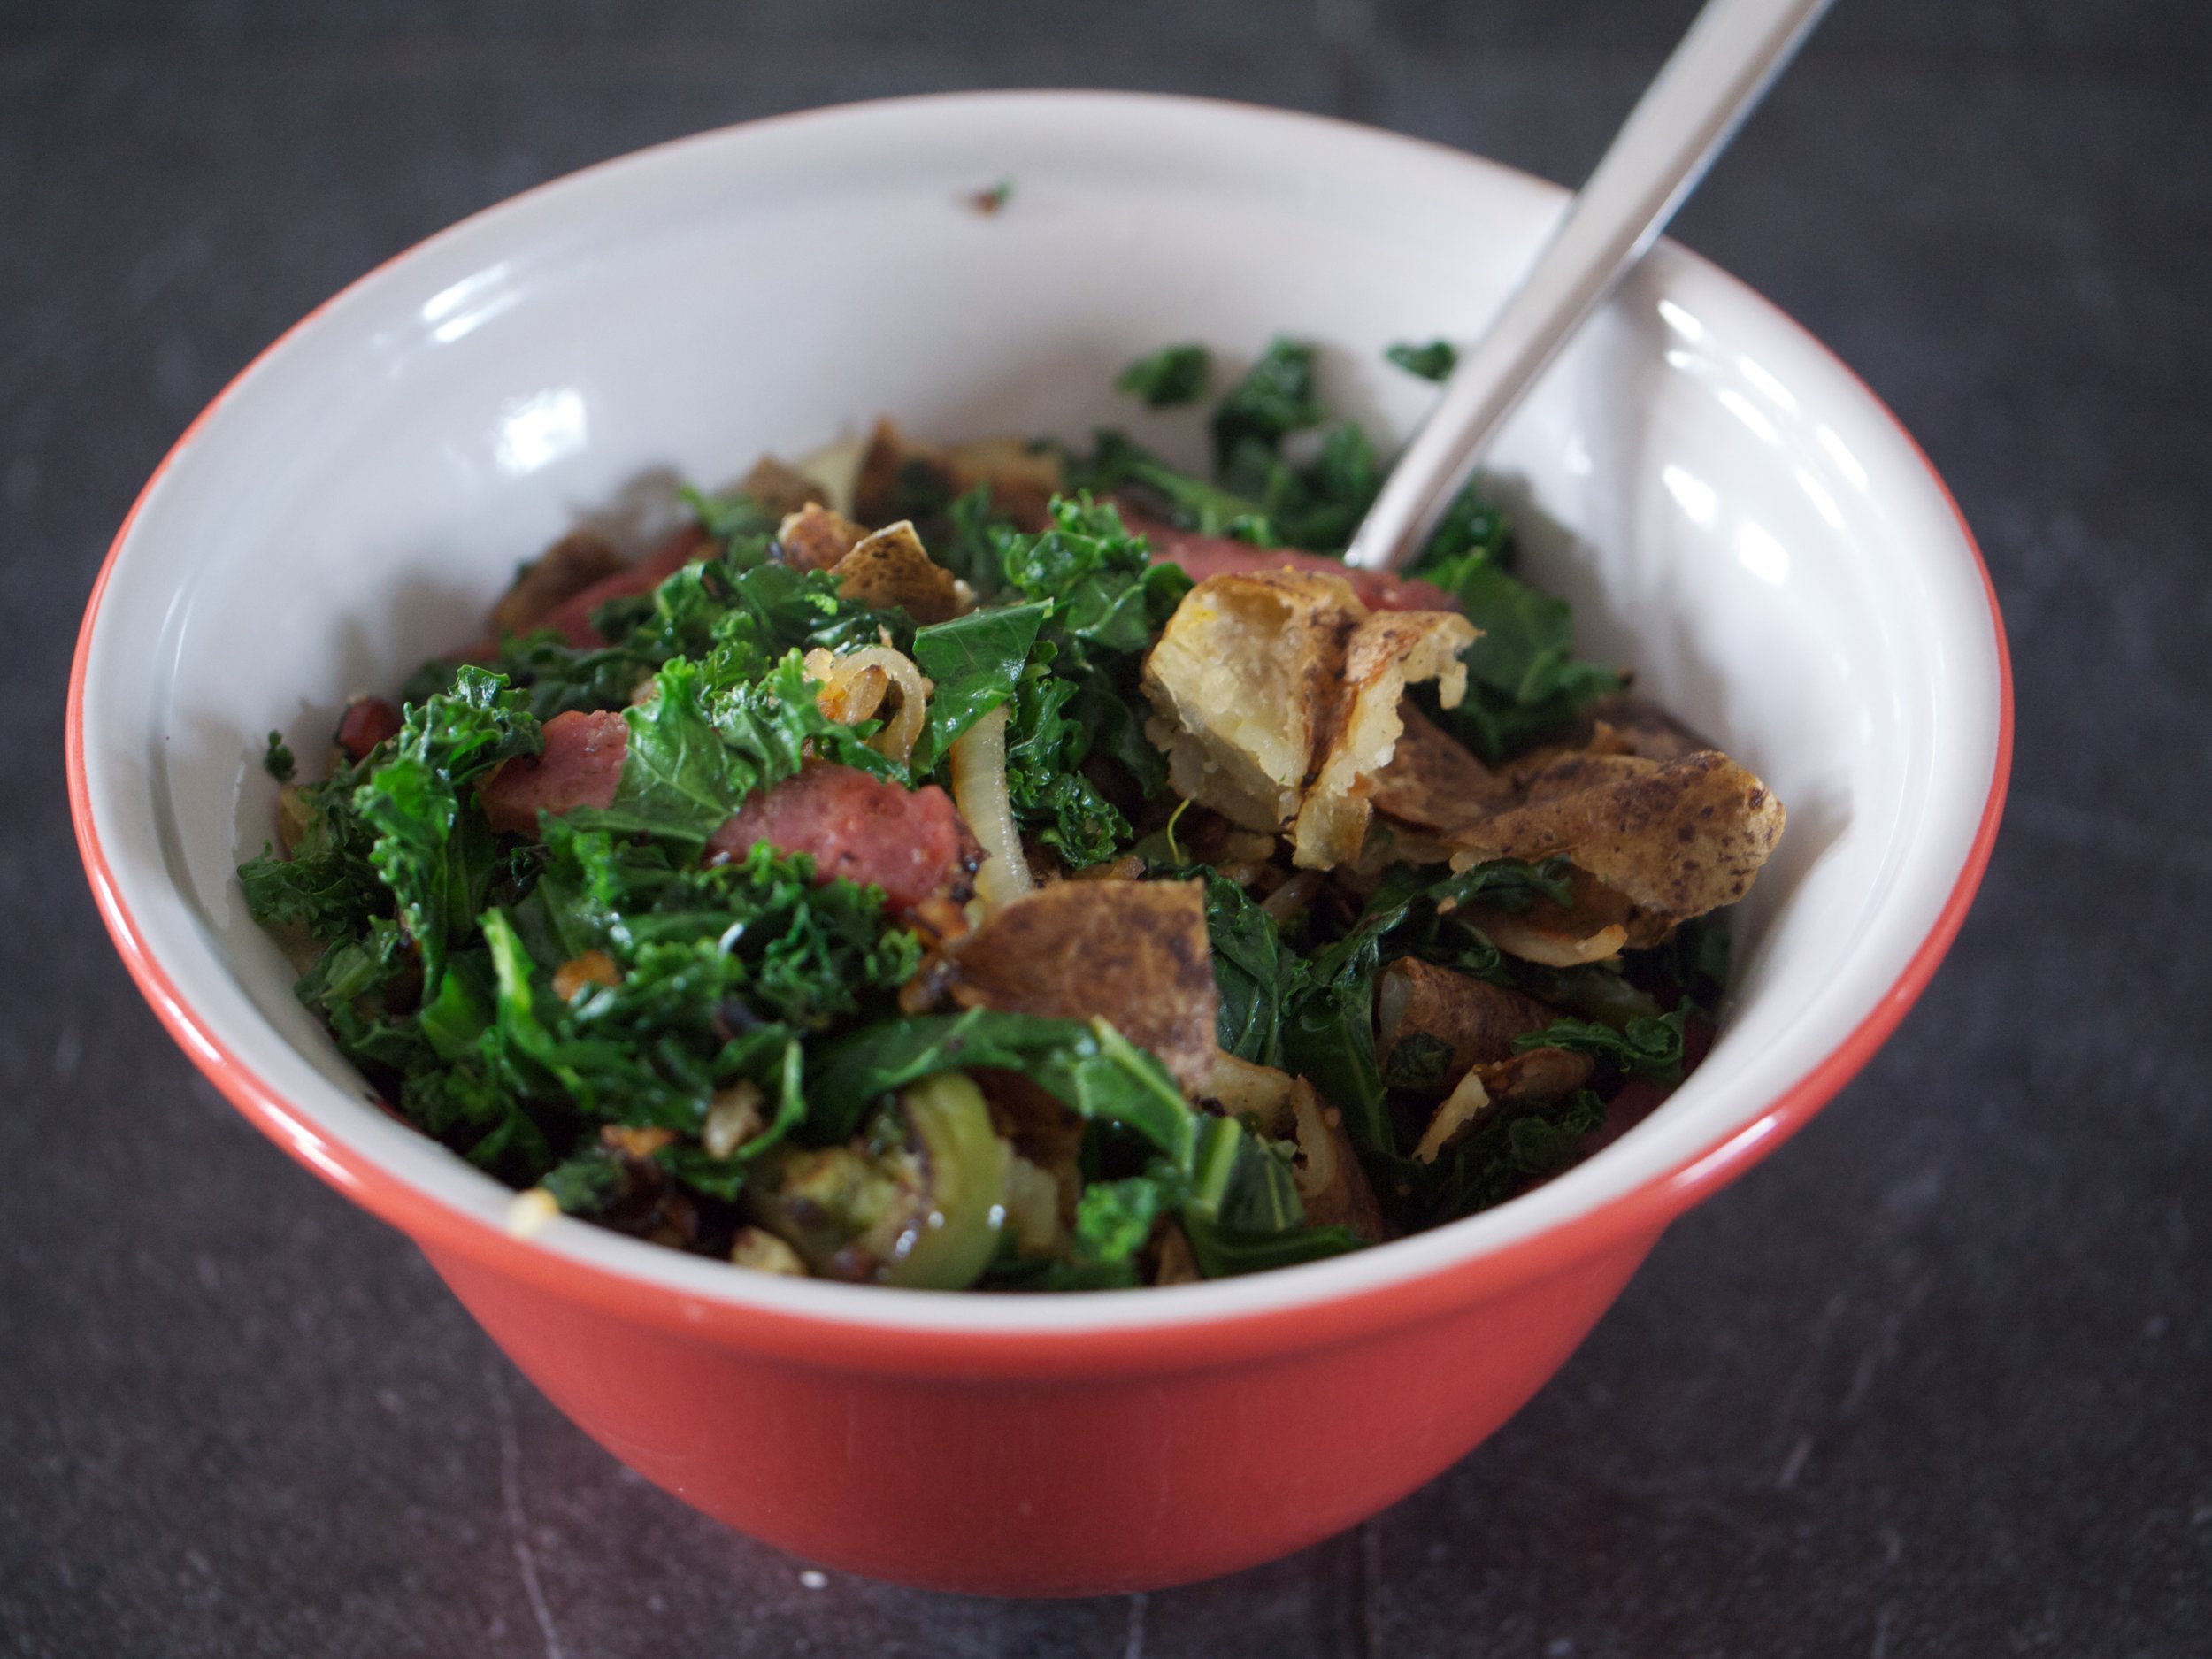
**** Sure, the cooked, scooped-out potato skins are raggedy and look like compost, but save them! They make a delicious hash-like fry-up with an onion, a scrap of salami, a jalapeño, some greens, and/or anything else you have kicking around. Top with a fried egg if you like, and delight in truly the scrappiest of scrappy lunches. (Is this me?? It makes me both laugh and cringe.)

